The tale of Little Red Riding Hood is a timeless classic, captivating audiences for generations with its themes of innocence, bravery, and the perils of the unknown. Whether for Halloween, a themed party, or a school production, making your own red riding hood DIY costume not only lets you dive into this enchanting world but also allows for personal creativity and expression. This project is perfect for both beginners and seasoned crafters and involves a variety of techniques, from sewing to crafting accessories. As you embark on this creative journey, you’ll learn how to select the right materials, design your outfit, and add those finishing touches to create a stunning costume. So grab your scissors, fabric, and imagination as we explore every detail of how to make your very own red riding hood costume!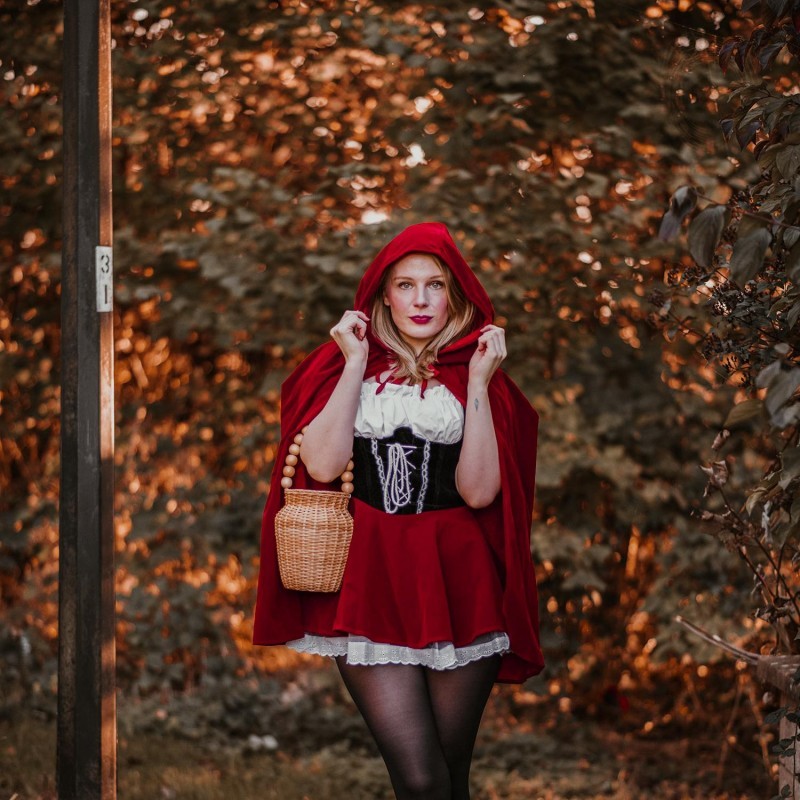
Contents
- 1 The Allure and Symbolism of Little Red Riding Hood
- 2 Materials Needed for Your Red Riding Hood DIY Costume
- 3 Designing and Crafting the Cloak
- 4 Creating the Underlying Dress
- 5 Completing Your Costume with Accessories
- 6 Makeup and Hairstyling for Your Red Riding Hood
- 7 Tips and Tricks for a Successful Red Riding Hood DIY Experience
- 8 Showcasing Your Red Riding Hood Costume
- 9 Conclusion: The Joy of Creating Your Own Red Riding Hood Costume
The Allure and Symbolism of Little Red Riding Hood
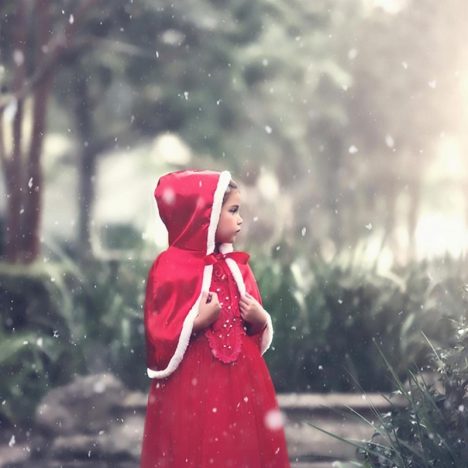
Before diving into the DIY aspects, it’s essential to appreciate the character you are about to create. Little Red Riding Hood, when you think about it, represents many important aspects of storytelling. The red cloak she wears symbolizes bravery and the transition from childhood to adulthood, while her journey through the woods reflects the journey into the unknown. Understanding these themes can inspire your design choices. As you prepare to craft your costume, consider which traits of Little Red Riding Hood resonate the most with you. This understanding will inform not just your materials and style choices, but will also lend emotional depth to your costume as you embody this iconic character.
Materials Needed for Your Red Riding Hood DIY Costume
When embarking on a red riding hood DIY project, selecting the right materials is crucial. Here’s a detailed list to get you started, ensuring you have everything you need for this exciting crafting experience:
- Fabric: The most important element is the bright red fabric for the cloak. Depending on your budget and intended look, consider options like velvet, cotton, or satin. For the dress, think about complementary fabrics, possibly in white or brown.
- Sewing Supplies: Stock up on essential sewing materials such as scissors, needles, thread, and pins. If you have a sewing machine, it will make the process much smoother.
- Patterns: A basic cloak pattern can be found online or drafted yourself. Patterns for dresses or skirts can also provide guidance if you’re not creating them from scratch.
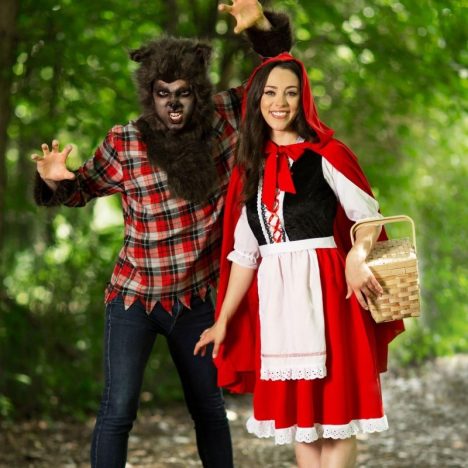
- Accessories: To complete your look, don’t forget a basket for Little Red Riding Hood to carry, as well as any additional props you might wish to include such as a stuffed wolf or some flowers.
- Embellishments: Consider lace, ribbons, or embroidery to add unique touches to your costume. These little details can elevate your outfit significantly and make it more personal.
By gathering these materials in advance, you’ll be better prepared to jump into the crafting of your costume.
Designing and Crafting the Cloak
The cloak is the centerpiece of your red riding hood DIY costume. A well-crafted cloak not only reflects the character beautifully but also adds a mystical quality. Follow these guidelines to design and create your cloak:
- Cutting the Fabric: Start by laying your red fabric flat. Use a measuring tape to determine the length you want the cloak to be, from your shoulders to your desired hemline, which, for a dramatic look, could be ankle-length. Cut a rectangle of fabric according to these measurements.
- Creating the Hood: To make the hood, cut a large semicircle from the top of the cloak fabric. The size can vary based on preference, but it ideally should extend down to cover part of your shoulders.
- Sewing the Edges: To prevent fraying, fold and sew the edges of the cloak and the hood. You can also choose to add bias tape for a clean finish.
- Adding Fasteners: If desired, sew on a clasp or button at the neck to secure the cloak. This not only adds functionality but can also serve as a decorative element.
- Embellishments: Finally, personalize your cloak with embellishments. You can use fabric paint for designs or attach a trim of lace for added femininity.
By completing these steps, you’ll have a stunning cloak that embodies the essence of Little Red Riding Hood and serves as the highlight of your costume.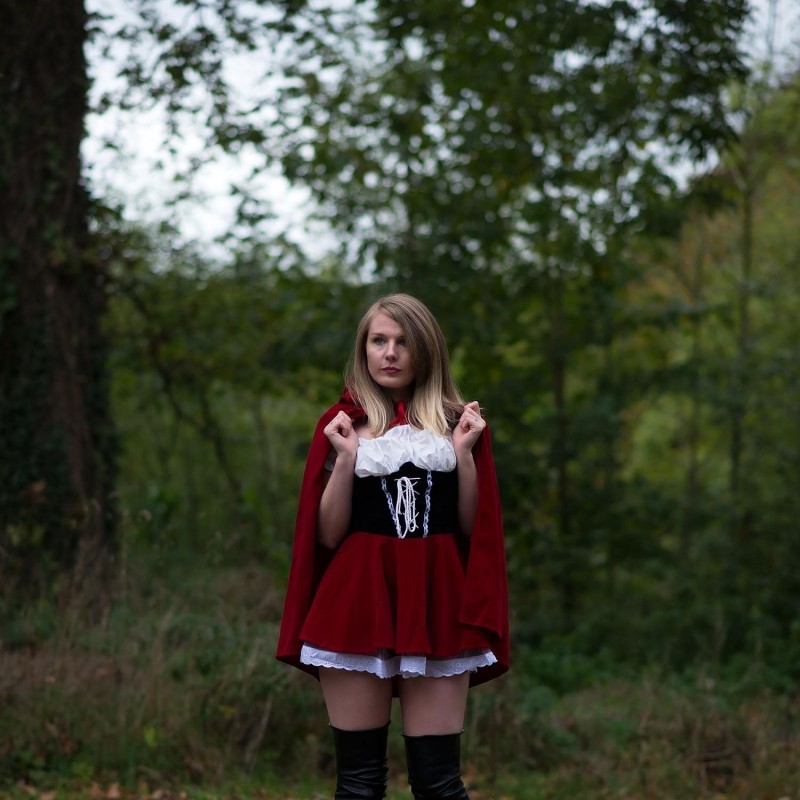
Creating the Underlying Dress
While the cloak steals the show, the underlying dress is equally important. Choosing the right base will enhance the overall look of your costume. Here are the steps to make a simple yet elegant dress:
- Selecting Your Pattern: Choose a pattern that reflects the classic style of a fairytale dress. Options can include a fitted bodice with a flowing skirt.
- Fabric Choice: Consider using a light-colored fabric for your dress, preferably white, cream, or even a soft floral pattern. This contrast will beautifully highlight the gorgeous red of your cloak.
- Sewing the Dress: Follow the pattern instructions to cut and sew the fabric for the dress. Don’t forget to leave room for seam allowances. This is also a good time to decide on sleeve length and style.
- Attaching the Skirt to the Bodice: If you’re making a two-part dress, ensure you attach the skirt to the bodice securely. Gathering the skirt can add volume and character.
- Finishing Touches: Hem the edges and consider adding small embellishments such as ribbons or flowers at the waist for a charming effect.
With a beautiful dress, your red riding hood DIY costume becomes even more enchanting, ensuring that you look the part in every aspect.
Completing Your Costume with Accessories
Accessories enhance any costume and can transform your red riding hood DIY into something truly special. Here are ideas for accessories that will complete your look perfectly:
- Basket: A woven basket is essential! You can fill it with faux flowers, fruits, or even a stuffed toy wolf for a humorous touch.
- Footwear: Choose comfortable yet stylish shoes to match the whimsical theme. A pair of classic black Mary Janes or simple ballet flats would be ideal.
- Headband or Hairpiece: Consider adding a matching red headband or a floral crown, which can replace or complement the hood. This will add an extra layer of charm to your ensemble.
- Jewelry: Keep your accessories minimal to stay true to the character, but consider adding simple silver or gold necklaces to enhance the dress.
- Props: As you bring the character to life, think of adding fun props like a storybook or a small picnic blanket for photo opportunities.
These accessories will bring your red riding hood DIY costume to a new level of enchantment, ensuring that every detail reflects the spirit of this beloved fairytale.
Makeup and Hairstyling for Your Red Riding Hood
To complete your transformation, applying makeup and styling your hair effectively is essential. This personal expression can further enhance your look and attention to detail. Consider the following tips:
- Hairstyle: Little Red Riding Hood is often depicted with long, flowing hair. You can style yours in loose waves or braids adorned with flowers or ribbons, adding to the fairytale vibe. If you prefer, wear it down or in a simple, elegant updo.
- Natural Makeup: Keep your makeup light and natural to emphasize the youthful innocence of the character. Focus on a dewy base, soft blush on the cheeks, and subtle eye makeup using soft pinks and browns.
- Bold Lip Color: You might opt for a vibrant red lip color to match the theme, as this adds a striking touch to your overall appearance.
- Accessories for Hair: Use hairpins, flower clips, or decorative bands that fit the theme, blending well with your outfit and ensuring cohesiveness.
By carefully considering your hair and makeup, you’ll embody the character of Little Red Riding Hood even more authentically, captivating everyone you meet.
Tips and Tricks for a Successful Red Riding Hood DIY Experience
The process of creating a red riding hood costume can be both rewarding and challenging. Here are some useful tips to help streamline your experience and ensure a fantastic outcome:
- Plan Ahead: Start your project early to avoid last-minute stress. Allocate time for each aspect, from sewing to styling, ensuring you can work at your pace.
- Practice Your Techniques: If you’re new to sewing or crafting, practice techniques on scrap fabric before working on your actual costume. This will boost your confidence and improve the final outcome.
- Stay Organized: Keep your materials organized throughout the process, using boxes or bins to separate different elements to streamline your workflow.
- Seek Inspiration: Don’t hesitate to look online for tutorials, inspiration, or tips from fellow crafters who have undertaken similar projects. Sharing experiences can bring new ideas and perspectives.
- Have Fun: Above all, remember to enjoy the process! Crafting is a chance to express yourself and tap into your creativity, so savor the moments spent designing and creating your costume.
Following these tips will help you achieve a successful and enjoyable red riding hood DIY experience, resulting in a costume you’re proud to showcase.
Showcasing Your Red Riding Hood Costume
Once you’ve crafted your perfect red riding hood DIY costume, it’s time to show it off! Here are some ideas on how to display your hard work and creativity:
- Costume Events: Attend Halloween or themed costume parties where you can meet others who appreciate the creative effort involved in costume making.
- Photo Shoots: Arrange a photo session to capture your beautiful costume. You can find scenic locations that evoke the enchanted forest or fairytale settings.
- Social Media Sharing: Share your creation online through social media platforms. Posting your DIY journey and the final result can inspire fellow crafters and costumers.
- Community Events: Participate in community gatherings or children’s events, sharing the spirit of Little Red Riding Hood and making it a delightful experience for everyone.
These opportunities will allow you to celebrate your craftsmanship and connect with others who share your love for creative expression through costume-making.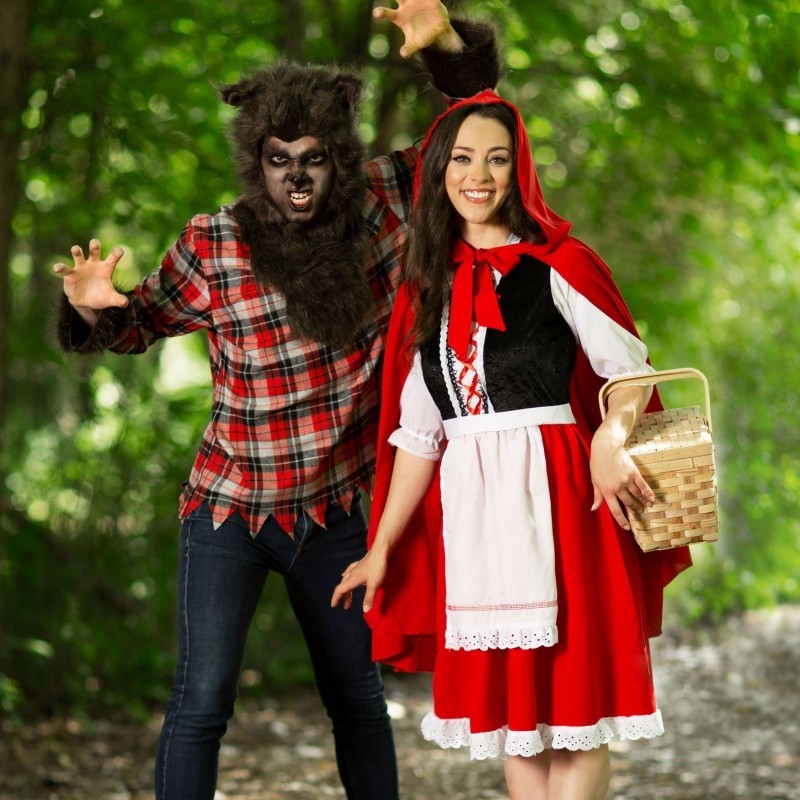
Conclusion: The Joy of Creating Your Own Red Riding Hood Costume
In conclusion, embarking on the journey of creating your red riding hood DIY costume is a fulfilling experience that combines creativity, storytelling, and artistry. With every fabric choice, stitch, and embellishment, you bring the essence of a timeless character to life while also expressing your individuality. This costume-making process allows you to engage with the narrative of Little Red Riding Hood on a deeper level, reflecting her courage and innocence. Completing your ensemble with carefully chosen accessories, hairstyles, and makeup enhances your overall portrayal, making you feel both authentic and empowered. Whether for a costume party, performance, or Halloween fun, your red riding hood costume will be cherished and remembered. So, gather your materials, embrace the process, and enjoy the magical experience of bringing Little Red Riding Hood into the contemporary world through your own creativity!