Contents
- 1 Introduction: Captivating Your Audience as the Ringmaster
- 2 Understanding the Ringmaster Costume
- 3 Fun DIY Accessory Ideas
- 4
- 5 Hair and Makeup for the Perfect Ringmaster Look
- 6
- 7 Putting It All Together: Final Assembly
- 8 Maintaining Your Costume and Accessories
- 9
- 10 Conclusion: Step into the Spotlight with Your Ringmaster Costume
Introduction: Captivating Your Audience as the Ringmaster
Every circus performance revolves around the charismatic and colorful figure of the ringmaster. A ringmaster costume is not just a look; it’s an experience. With their top hats, tails, and dramatic flair, ringmasters command attention and embody the spirit of the circus. If you’re looking to make an impression at your next costume party or Halloween event, creating a stunning ringmaster costume is a fantastic choice.
However, the outfit alone won’t complete the look—accessories play a crucial role in bringing your ringmaster persona to life. This article will guide you through fun DIY accessories that can elevate your costume, making you the star of any show. From hats to props, let’s explore how to design unique elements that reflect the extravagant world of the circus ringmaster!
Understanding the Ringmaster Costume
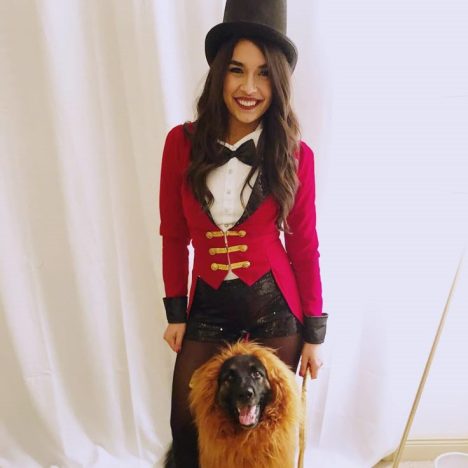
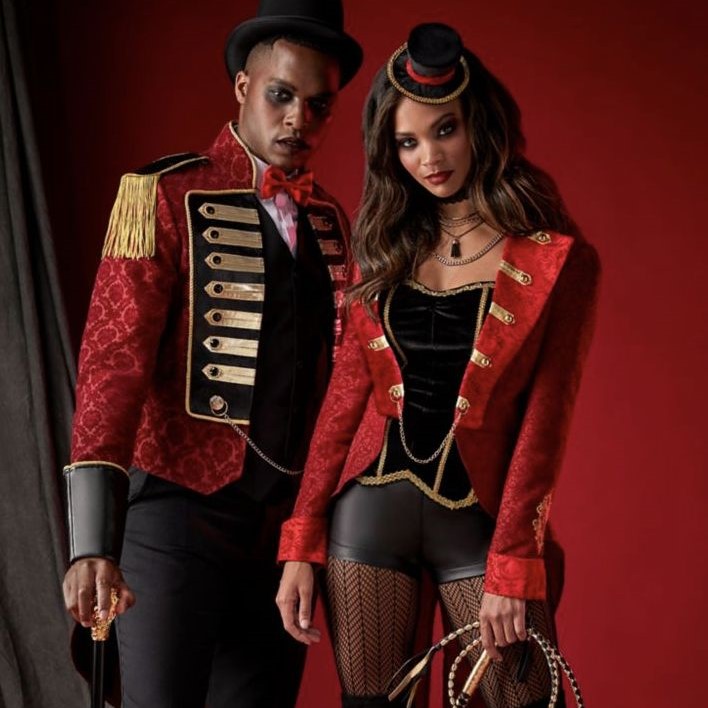
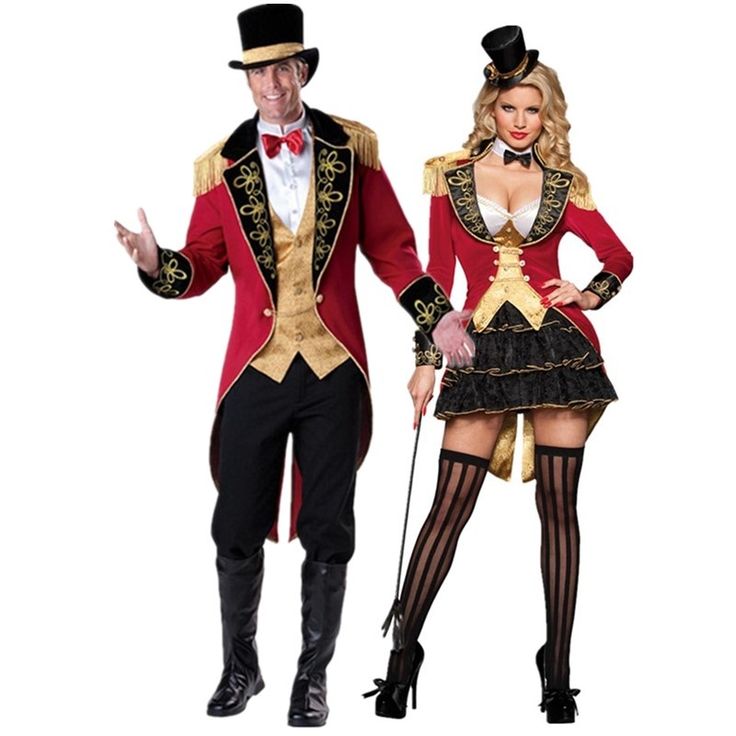
1. Key Components of a Ringmaster Costume
An authentic ringmaster costume typically consists of several defining elements:
- Top Hat: The quintessential symbol of a ringmaster, a top hat adds to the dramatic elegance. Choosing one with embellishments can enhance your overall look.
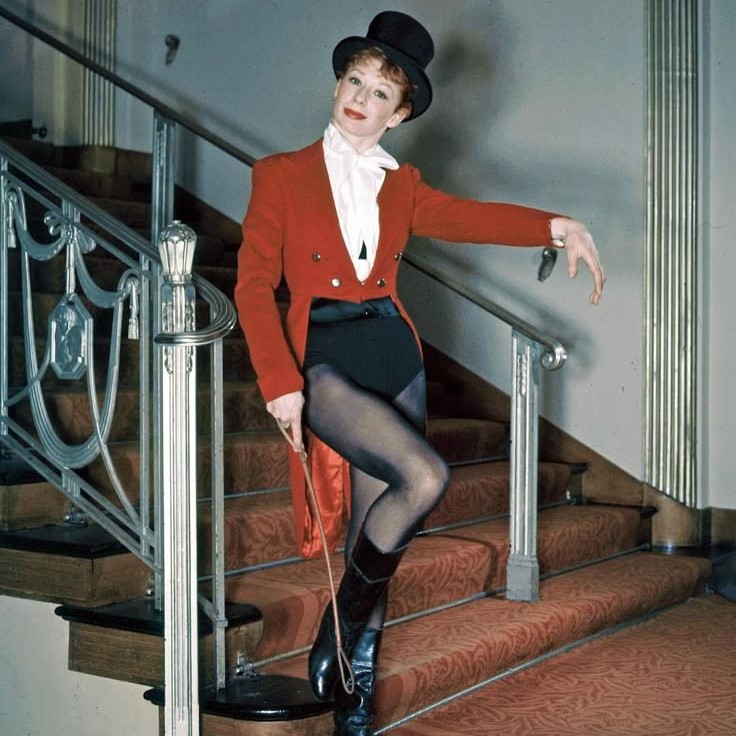
- Tailcoat: A fitted tailcoat often in bold colors like red or black is crucial. Look for one with gold trim or unique buttons to give it a distinct touch.
- Breeches or Trousers: The pants you choose should complement the tailcoat. High-waisted breeches are a traditional choice, but styled trousers can work as well.
2. Color Palette and Fabrics
The color scheme of your costume is vital for achieving the classic ringmaster aesthetic:
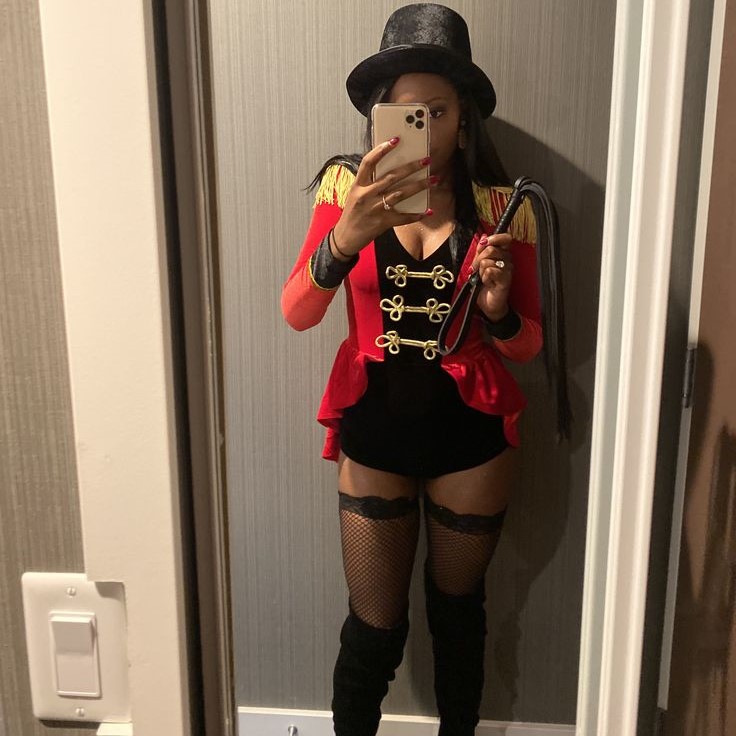
- Bold Colors: Reds, whites, and blacks are typical colors associated with circus themes. Bright, alluring fabrics create the vibrant essence of a ringmaster.
- Materials: Fabrics like velvet, satin, or brocade enhance the luxurious look. Velvet provides texture, while satin offers a glossy finish that catches the light.
Fun DIY Accessory Ideas
1. Customizing Your Top Hat
Your top hat is a pivotal accessory in your ringmaster costume, so why not customize it?
- Embellishments: Use feathers, rhinestones, or decorative bows to give your hat a unique flair. Hot glue these pieces to the hat for a secure attachment.
- Color Accent: Consider adding a ribbon around the base of the hat in a contrasting color to match the overall costume.
2. Creating a Ringmaster Badge
A ringmaster badge enhances your authority in the circus:
- Materials Needed: Grab some cardboard, gold spray paint, and craft jewels to make a dazzling badge.
- Instructions: Cut a circular shape out of cardboard, paint it gold, and attach craft jewels around the edge. You can even write “Ringmaster” in bold letters in the center for authenticity.
3. Designing Your Faux Whip
A whip is a classic prop for any ringmaster, adding to your commanding presence:
- Making the Whip: You can create a faux whip using a length of black rope or even a long piece of fabric rolled tightly.
- Finishing Touches: Consider adding a few decorative elements, such as colorful tassels or faux leather accents, to make it visually appealing.
4. Crafting a Bow Tie
A bow tie is a simple yet impactful accessory that completes your look.
- Choosing the Fabric: Select a fabric that coordinates with your costume, such as velvet or satin in a bright color.
- Instructions: Use a strip of fabric, fold it into a bow shape, and attach it to a band around your neck. Secure it with hot glue or stitches.
Hair and Makeup for the Perfect Ringmaster Look
1. Styling Your Hair
The hair helps to frame your face and complete your character:
- Signature Styles: For a classic ringmaster look, consider slicking your hair back for a polished appearance. Alternatively, if you have long hair, romantic waves can add to the circus flair.
- Accessories for Hair: Adding a sparkly hairpiece or a small feather in your hair can enhance your ringmaster charm.
2. Bold Makeup Choices
Makeup can be used to enhance the dramatic effect of your costume:
Lips
- Choosing the Right Shade: When selecting a lipstick for your ringmaster look, consider opting for a bold red shade. Red lips are timeless and evoke a sense of glamour that fits perfectly with the ringmaster aesthetic.
- Application Technique: Apply a lip liner in a similar shade to define the shape of your lips. This helps prevent the lipstick from feathering and enhances longevity. After lining your lips, fill them in with the red lipstick, using a lip brush for a precise application.
- Finishing Touch: For added shine and allure, consider applying a bit of gloss over the lipstick. This will create a luscious, plump look that draws attention to your smile while enhancing the overall dramatic effect of your makeup.
- Long-Lasting Formula: Opt for a long-wearing lipstick to ensure your bold color stays intact throughout your events. This reduces the need for frequent touch-ups and allows you to focus on enjoying your time in character.
Eyes
- Creating the Smoky Eye: To emphasize your eyes and create a bold look, start with a dark eyeliner. Use a black or deep brown pencil eyeliner to line both the upper and lower lash lines. Smudge it slightly for a softer, smoky effect that pairs well with the dramatic ringmaster theme.
- Adding Eye Shadow: Choose dark eye shadow shades—such as charcoal, deep purple, or midnight blue—to enhance the smoky eye look. Apply the shadow over the eyelid, blending it into the crease to create depth and dimension.
- Highlighting the Brow Bone: To lift your eyes, consider applying a lighter shade or a shimmery highlighter under the brow bone and in the inner corners of your eyes. This will draw attention upwards and create a more open look.
- Incorporating Glitter: For an extra pop that ties into the circus theme, add glitter to your eyelids. Use a glitter adhesive to ensure that the glitter adheres well throughout the night. Apply the glitter sparingly over the center of your eyelid for a sparkling finish.
- Finishing Touches with Mascara: Don’t forget to apply generous coats of mascara to both your upper and lower lashes. This adds volume and drama to your eye makeup, making your eyes the standout feature of your ringmaster look.
Putting It All Together: Final Assembly
1. Try on Your Costume
Once your accessories are complete, it’s time to try on the entire costume.
- Check for Coordination: As you put everything together, make sure that all elements complement each other harmoniously.
- Adjust as Needed: Make any necessary adjustments to your clothing and accessories to ensure comfort and proper fit.
2. Practice Your Ringmaster Persona
Getting into character is just as important as what you wear:
- Attitude Matters: Exude confidence and flair, as a ringmaster would do. Practice your best gestures, poses, and commands to enhance your presentation.
Maintaining Your Costume and Accessories
1. Care Instructions
Taking care of your costume ensures it remains in great condition for future use:
- Cleaning: Follow the washing instructions for your costume. Hand wash delicate items, if needed, instead of tossing them in the machine.
- Storage: Store your costume in a cool, dry area, away from direct sunlight to keep colors vibrant. Consider using garment bags to protect it from dust.
2. Touch-Ups Before Events
If you plan to wear your costume again, consider a few touch-ups:
Ironing
- Assessing the Costume: Before ironing, carefully inspect your costume for any wrinkles or creases. Pay particular attention to areas that tend to wrinkle easily, such as sleeves, collars, and seams.
- Prepare the Iron: Set your iron to the appropriate temperature for the fabric type of your costume. For delicate materials, use a low setting, while heavier fabrics may require a medium setting. Always check the care label for specific instructions.
- Using a Steamer: If you have a fabric steamer available, consider using it instead of an iron. Steaming is often gentler on fabrics and can effectively remove wrinkles without the risk of scorching.
- Ironing Techniques: Start by laying your costume flat on an ironing board. For best results, place a thin cloth or pressing cloth between the iron and the fabric to further protect your costume from direct heat.
- Gentle Movement: Iron the fabric with smooth, even strokes, applying light pressure. Avoid leaving the iron in one spot for too long to prevent burning or damaging the fabric. Focus on areas with noticeable wrinkles, spending a few seconds on each section.
- Finishing Touches: After ironing, hang the costume on a padded hanger to maintain its shape. This helps prevent new wrinkles from forming and keeps your costume looking fresh for your next event.
Accessory Check
- Visual Inspection: As you prepare to wear or store your costume, take a moment to glance over each accessory. Check for any signs of wear, such as scratches, broken pieces, or tarnished surfaces.
- Functionality Assessment: Ensure that all functional elements are in good working order. For example, if you have belts, buckles, or closures, verify that they fasten securely and are free from damage.
- Cleaning Accessories: If any accessories appear dirty or stained, clean them according to their material requirements. Use appropriate cleaning solutions or cloths to restore their shine and appearance. For example, polish metal accessories to remove tarnish and maintain their luster.
- Repair or Replace: For any items that show wear and tear, decide whether they can be repaired or need to be replaced. If an accessory is broken, consider fixing it with glue or additional fastening; if it’s beyond repair, sourcing a new item may be necessary.
- Final Assembly: Once all accessories are checked and cleaned, gather them with your costume. Ensure each piece complements the overall look, allowing for a cohesive presentation when you wear the costume.

Conclusion: Step into the Spotlight with Your Ringmaster Costume
Creating a ringmaster costume is a fun and engaging experience that allows you to channel the bold character of a circus leader. With attention to detail and creativity, you can craft a look that is not only stunning but also representative of the vibrant spirit of the circus.
By following the DIY tips in this guide, you’re equipped to add unique accessories that enhance your ringmaster persona. From crafting a fabulous top hat to designing a faux whip, every accessory contributes to your overall character. Have fun exploring the limitless possibilities of costume design and enjoy the spotlight at your next event!
Now you’re ready to dazzle everyone with your stunning ringmaster costume. Embrace the magic of the circus and let your creativity shine!