
Contents
- 1 Introduction: The Appeal of Baby Groot Costumes
- 2 What You Need: Materials for Your Baby Groot Costume
- 3 Step 1: Designing Your Baby Groot Costume
- 4 Step 2: Making the Body of the Costume
- 5 Step 3: Adding Details and Texture
- 6
- 7 Step 4: Creating the Face: Expressive and Fun
- 8 Step 5: Final Touches and Accessories
- 9 Step 6: Tips for Wearing Your Baby Groot Costume
- 10
- 11 Conclusion: Celebrate Your Creation!
Introduction: The Appeal of Baby Groot Costumes
The Baby Groot character from Marvel’s “Guardians of the Galaxy” has endeared himself to a global audience. This adorable, tree-like creature combines charm with humor, making him a favorite among fans of all ages. His popularity has surged, especially during seasons of cosplay and Halloween gatherings. If you’re thinking about dressing as Baby Groot, you’re in for a fun crafting experience! In this DIY guide, we will explore how to make a Baby Groot costume that stands out in any crowd. The baby groot costume diy approach not only provides a creative outlet but also allows for personalization in your cosplay.
Whether you need a costume for a themed party, comic convention, or Halloween, we have you covered. With simple steps, the right materials, and a good dose of creativity, anyone can learn how to make a baby groot costume. This guide will delve into various aspects, such as design, construction, and accessorizing, guaranteeing an epic cosplay that captures the essence of your favorite Marvel character.
What You Need: Materials for Your Baby Groot Costume
Before embarking on your crafting journey, it’s essential to gather all necessary materials. This will streamline the process and ensure you have everything at hand. Typically, for creating a Baby Groot costume, you will need:
Brown Fabric or Felt:
-
- This material serves as the main component of the costume, providing a realistic representation of tree bark.
- Its textured surface adds depth and authenticity to the design, making the costume appear more lifelike.
- Various shades of brown can be used to enhance the visual interest and mimic the complexities of actual tree bark.
Green Fabric or Felt:
-
- This additional material is used for decorative elements, specifically leaves and vines that enhance the costume’s overall appearance.
- The vibrant green serves as a striking contrast to the brown fabric, simulating the natural growth found in trees.
- Different leaf shapes and sizes can be crafted from this fabric to create a more dynamic and visually appealing look.
Cushioning Material:
-
- Materials such as foam or wadding can be utilized to add volume and a plush texture to the costume.
- This cushioning helps to create a more three-dimensional shape, giving the costume a fuller and softer appearance.
- Properly placed cushioning can also provide comfort for the wearer, allowing for easier movement during use.
Paint:
-
- Paint in various shades of brown and green is essential for detailing the costume accurately.
- It can be used to add texture and shading, imitating the intricate patterns found in bark and foliage.
- Applying paint strategically can further enhance the overall realism, making the costume stand out.
Rope or Floral Wire:
-
- These materials are crucial for constructing the shape and structure of the costume.
- Rope can be used to create twisted vines or branches, while floral wire can help in forming leaves or delicate tendrils.
- Utilizing these materials allows for flexibility in design, enabling the costume to maintain its intended shape while being worn.
Hot Glue Gun & Glue Sticks:
-
- A hot glue gun and glue sticks are indispensable tools for securely attaching different parts of the costume together.
- This method provides a strong bond that can withstand movement, ensuring all elements remain in place during wear.
- The quick-drying nature of hot glue allows for efficient assembly and adjustments as needed.
Scissors:
-
- A fundamental tool required for cutting both fabric and other materials to the desired shapes and sizes.
- Scissors allow for precision, ensuring clean edges and well-finished components of the costume.
- They are essential for customizing pieces to fit together seamlessly for a polished final look.
Face Paint or a Mask:
-
- To achieve the complete Baby Groot appearance, face paint or a mask can be used to create facial features.
- Face paint allows for detailed designs, enabling the wearer to portray the character more authentically.
- A mask may serve as an alternative for those seeking a quick and easy solution to represent the character’s facial characteristics effectively.
By having these materials ready, you can avoid interruptions during the crafting process, making it smoother. Understanding how to make a baby groot costume becomes much more manageable with a clear plan and organized resources.
Step 1: Designing Your Baby Groot Costume
The design phase is crucial to successfully creating your Baby Groot costume. Begin by imagining what you want the final look to resemble. Would you like a full-body suit, a dress, or perhaps a simple top paired with brown pants? The overall design can vary based on your preferences and the comfort you are aiming for.
Take measurements to ensure a good fit. If you’re creating a full suit, think about how the costume will allow for movement. You want it to be comfortable but also visually appealing to convey the tree-like persona of Baby Groot. Sketching out your ideas can help you visualize the design, and you can play with different styles. Don’t hesitate to explore easy baby groot costume ideas that stand out, including the incorporation of playful elements that can enhance the overall feel of the costume.
Step 2: Making the Body of the Costume
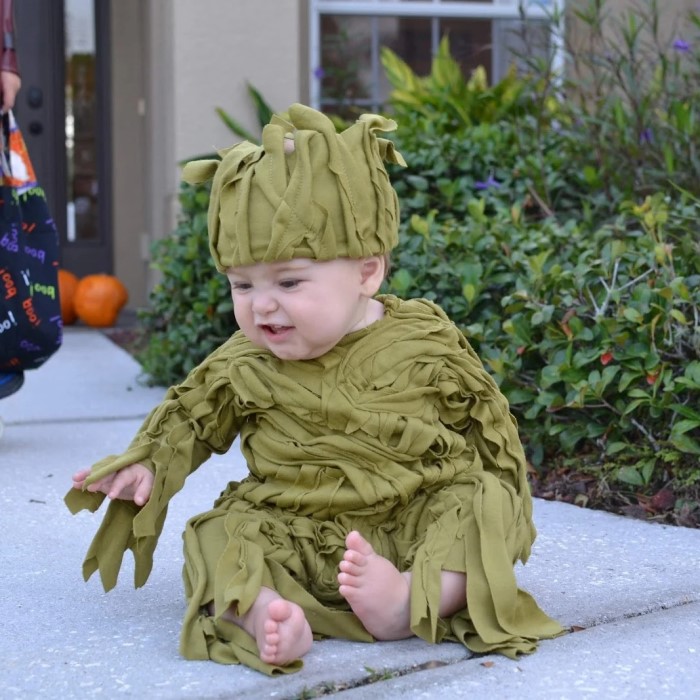
Now that you have your design, it’s time to start crafting the body of your Baby Groot costume. Begin by cutting your brown fabric into pieces that will mimic the natural shapes of a tree trunk. If you’re going for a full-body suit, consider sewing or gluing the pieces together so they form a seamless look. If you opt for a top, make sure it’s loose enough for comfort.
Next, use hot glue to attach brown and green fabric in swirls and patches across the costume to mimic tree bark textures. This will give your costume an organic and lifelike feel. Layering the fabrics will add depth, enhancing the overall appearance of your baby groot cosplay tutorial. As you work, remember to check that each piece aligns with your overall design vision. Small details can make a significant difference in achieving a realistic look.
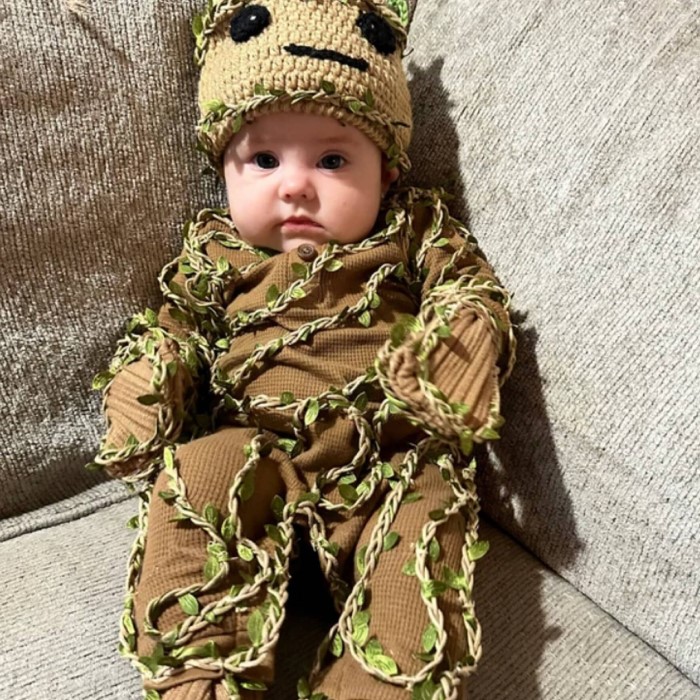
Step 3: Adding Details and Texture
Attention to detail is what will elevate your Baby Groot costume from good to iconic. To create a texture that resembles tree bark, use darker shades of brown in certain areas to add shadows. This step is crucial, as contrasting colors will help achieve a more realistic and engaging costume.
For additional flair, consider adding leaves and vines made from green fabric. These should be carefully glued onto the costume to give the impression of Twin branches extending from Baby Groot. Twigs, small branches, or even faux flowers can be incorporated, making the costume visually appealing and fun. This meticulous work adds the magic typically associated with the character, making it a delightful experience for anyone wearing it.
Step 4: Creating the Face: Expressive and Fun
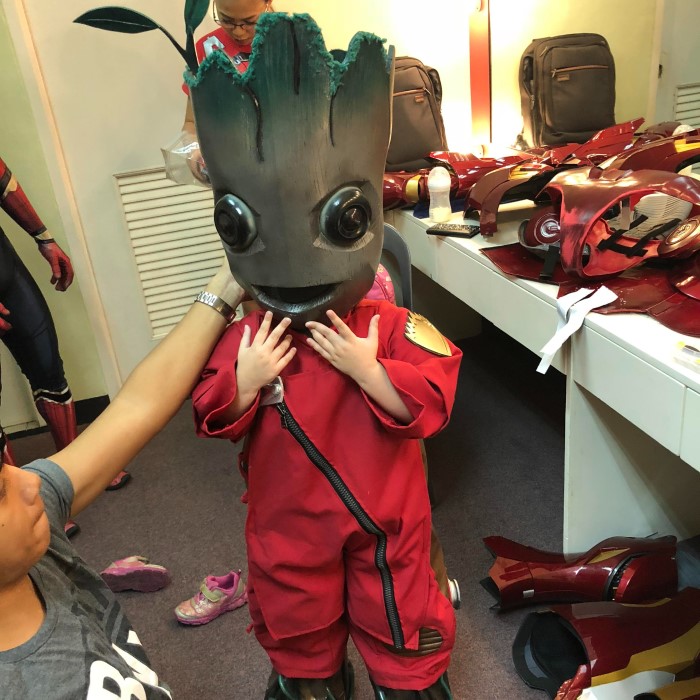
Now, let’s turn our attention to the most expressive part of the costume—the face! Baby Groot possesses a cheerful and endearing expression that can be replicated for your look. If you’re comfortable using face paint, apply brown and green shades to emulate the bark texture and foliage around his features. It’s crucial to blend the colors well for a seamless finish.
If you prefer a mask, you can make one from sturdy cardboard or fabric. Cut it out to ensure it fits your face properly. Don’t forget to paint the mask to reflect Baby Groot’s facial features, including bright eyes and a friendly grin. This detail transforms you into Baby Groot, increasing the character’s appeal at any event. Achieving a recognizable face is vital to ensuring everyone understands who you’re portraying.
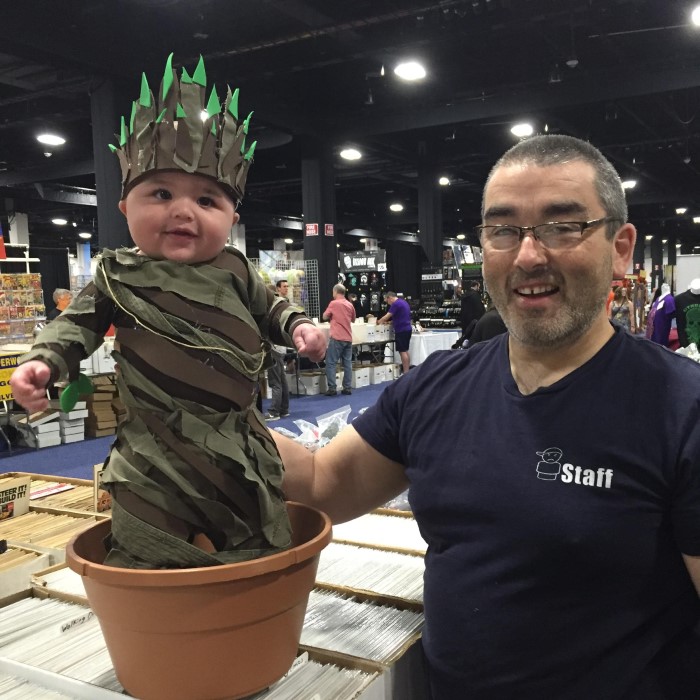
Step 5: Final Touches and Accessories
You’ve come a long way, but it’s time for the final touches that will complete your Baby Groot costume. Consider adding decorative elements, like miniature flower accessories or more vines. Tailoring the costume to your preferences can enhance the overall look.
An excellent accessory to consider is a plant pot that can complement your costume. This playful addition can serve as a prop that carries the essence of Baby Groot. Picture yourself walking around with a pot, embodying the spirit of this lovable tree. Details like these can make a notable impact, transforming your costume into a genuine masterpiece.
Step 6: Tips for Wearing Your Baby Groot Costume
- Prioritize Comfort:
- Comfort should be your top priority when wearing your Baby Groot costume.
- Choose materials that allow for good ventilation and are not restrictive, ensuring you can move freely throughout the day.
- Check Your Visibility:
- If your costume includes a mask, it’s crucial to double-check your lines of sight.
- Make sure you can see clearly to prevent any accidents or mishaps, particularly in crowded spaces.
- Wear Breathable Clothing:
- Consider wearing breathable clothing underneath your costume, especially if you plan to wear it for several hours.
- This is particularly beneficial at events like comic conventions or parties where the temperature may rise.
- Immerse Yourself in the Character:
- Fully embrace the character of Baby Groot while wearing the costume.
- Your attitude and enthusiasm can greatly enhance the experience, not just for you, but also for those around you.
- Engage with Others:
- Engage playfully and interactively with fellow event-goers to create a lively atmosphere.
- By sharing the fun and excitement of the character, you can elevate everyone’s experience during the event.
- Plan for Practicality:
- Think about practical aspects such as bathroom breaks and mobility.
- Ensure that your costume allows for ease of use without necessitating complete removal for every small task.
- Accessorize Wisely:
- If you opt for additional accessories, select those that complement your costume without adding discomfort or weight.
- Consider lightweight options that won’t hinder your movement or stamina while wearing the costume.
Conclusion: Celebrate Your Creation!
In conclusion, creating a Baby Groot costume can be incredibly fulfilling and exciting. By following these steps—gathering materials, designing, building, detailing, and accessorizing—you can craft an impressive baby groot costume ready for any event. Whether you’re dressing up for Halloween or attending a comic convention, this DIY project allows you to showcase your skills and creativity.
Do not underestimate the impact of a well-crafted costume; it can spark conversations, create joy, and even inspire others to express themselves through cosplay. Remember that the journey of making your baby groot costume diy is as enjoyable as the final result. Enjoy every step, celebrate your creations, and have a great time as your new character. Happy crafting!