Contents
- 1 Introduction: The Art of Making Temporary Tattoos
- 2 Understanding Temporary Tattoos
- 3
- 4 Different Methods of Making Temporary Tattoos
- 5
- 6 Removing the Henna
- 7 Creative Tips for Making Trendy Temporary Tattoos
- 8 Frequently Asked Questions About Temporary Tattoos
- 9 Conclusion: Express Yourself with Temporary Tattoos
Introduction: The Art of Making Temporary Tattoos
Making your own temporary tattoos can be an exciting and creative way to express individuality. They allow a unique means of self-expression, especially for those who want to enjoy body art without any long-lasting commitment. Temporary tattoos have surged in popularity over the past few years, particularly among kids and adults looking for novel ways to personalize their look. This guide will explore how to make temporary tattoos at home, providing you with trendy styles and hacks to elevate your design game. From creative temporary tattoo ideas to practical tips on how to remove temporary tattoos, we will cover everything you need to know for your next tattoo adventure!
Understanding Temporary Tattoos
What Are Temporary Tattoos?
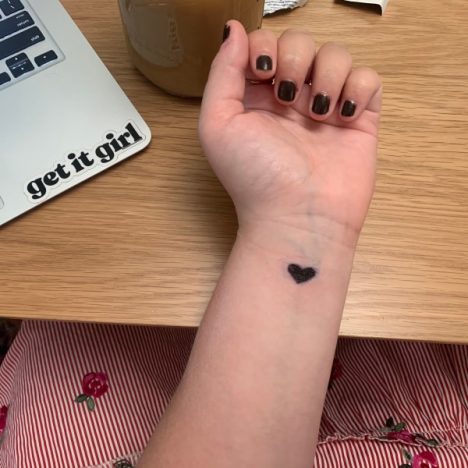
Temporary tattoos are non-permanent body art that typically lasts anywhere from a few days to a couple of weeks. They can be applied easily and then removed without any pain or hassle, making them perfect for anyone considering body art without the lifelong commitment. Various methods exist for creating these tattoos, including printed designs, stencils, and even natural materials like henna. Because they come in a range of styles, they can be ideal for different occasions, from parties and celebrations to artistic self-expression.
Benefits of Using Temporary Tattoos
Temporary tattoos boast several advantages over traditional tattoos. For one, they offer a pain-free method for marking your skin. You can experiment with different designs, colors, and styles without the worry of permanent ink. This freedom is particularly appealing to children, who love wearing tattoos but may not be ready for something lasting. Furthermore, temporary tattoos are ideal for special events — whether it’s a festival, birthday party, or themed gathering — where you want to elevate your look without a long-term commitment.
Different Methods of Making Temporary Tattoos
How to make temporary tattoos? Now that you understand what temporary tattoos are and their benefits, let’s explore the various methods for making them at home.
Method 1: Using Inkjet Printers
This popular method allows you to create personalized temporary tattoos easily.
- Choose Your Design: Start by selecting an image or design that appeals to you. You can find a variety of ideas online or create your own unique artwork. Consider exploring different themes or graphic styles to find the perfect image.
- Print Using Tattoo Paper: Purchase temporary tattoo paper designed for inkjet printers. Be sure to follow the instructions included with the tattoo paper to ensure a successful print. Load the paper into your printer, and print your chosen design.
- Cut Out the Design: After printing, carefully cut around your design, leaving a small border to make application easier. Each design might require different handling based on its shape and intricacies.
- Applying the Tattoo: Peel off the protective layer of the tattoo paper and place the tattoo face-down onto clean, dry skin. Use a damp cloth to apply pressure for about 30 seconds to ensure a good transfer.
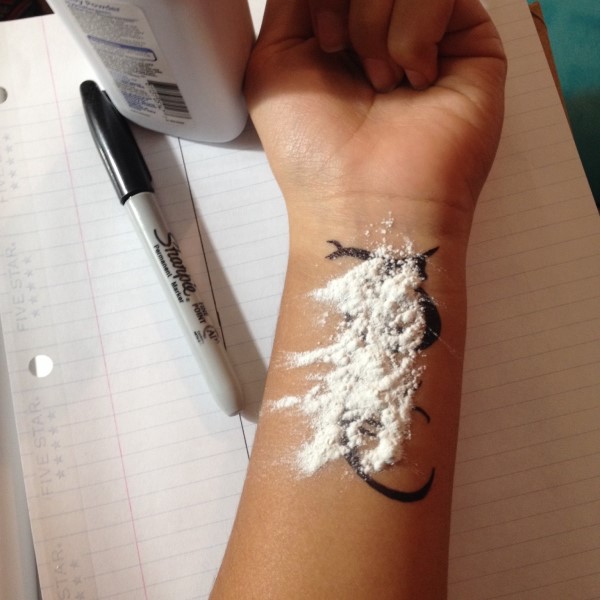
- Removing the Tattoo: Should you wish to remove the tattoo, you can use baby oil or rubbing alcohol to gently wipe it away from your skin.
This method allows for limitless design possibilities while ensuring you create a professional-looking temporary tattoo.
Method 2: Stencil and Cosmetic Products
Using stencils provides an opportunity for broad creativity and colorful designs.
- Gather Your Supplies: You’ll need stencils, body-safe paint or glitter gel, and a makeup sponge. This method is particularly kid-friendly, with lots of fun designs available.
- Select the Stencil: Choose a stencil that fits your desired design theme, ensuring it’s durable and easy to work with. Consider using different sized stencils for various effects.
- Securing the Stencil: Place the stencil on clean, dry skin and secure it in place with some tape if necessary. Ensure that edges are rested flat against the skin to avoid smudging.
- Fill in the Design: With a sponge or brush, apply a thin layer of body paint over the stencil. Avoid the temptation to overapply, as a thin layer looks cleaner.
- Remove and Allow to Dry: Carefully peel off the stencil without smudging your design. Let the painted design dry completely, and you can optionally spritz a setting spray to prolong its lifespan.
This method of creating temporary tattoos offers versatility, allowing for vibrant colors and fun designs.
Method 3: DIY Henna Tattoos
Henna tattoos boast a traditional appeal that’s beautiful and relatively easy to make.
Make the Henna Paste
- Choosing Your Method: You have the option to either purchase pre-made henna paste from a beauty supply store or create your own at home. Making your own paste allows for more control over the ingredients used and can often yield a fresher product.
- Ingredients Required: If you opt to make your own henna paste, you will need quality henna powder, which can be sourced from health stores or online. Additionally, gather water and fresh lemon juice, which will act as a natural dye activator.
- Mixing the Ingredients: In a bowl, mix the henna powder with an appropriate amount of water and lemon juice to form a smooth paste. The consistency should not be too runny or too thick; aim for a texture similar to that of pancake batter.
- Allowing the Paste to Rest: Once thoroughly mixed, cover the bowl with plastic wrap or cloth. Allow the henna paste to rest for several hours, typically ranging from two to six hours. This resting period is crucial, as it enables the dye to release and achieve the desired color and consistency.
- Checking Consistency: After the resting time, check the consistency of the paste. If it seems too thick, add a little more water; if it’s too runny, you can mix in more henna powder. The right texture will facilitate precise application for your design.
Create Your Design
- Selecting Your Tools: To apply the henna, choose a fine-tipped applicator, which is often available in craft stores, or create a henna cone from parchment paper by rolling it into a cone shape. A fine tip will allow for intricate detailing, which is essential for achieving beautiful designs.
- Preparing the Skin: Before applying the henna, ensure that your skin is clean and free of oils or lotions. You can wash the area with soap and water, then dry it thoroughly. This step helps the henna adhere better and ensures a clear imprint of the design.
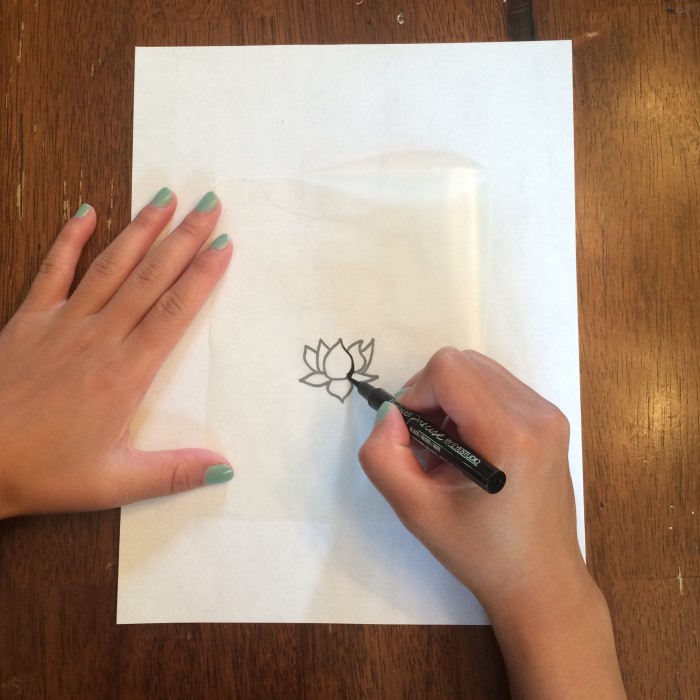
- Drawing Your Design: Using the applicator or cone, carefully draw your chosen design onto the skin. Henna is known for intricate patterns, so take your time to create swirls, dots, or floral designs as desired. Allow your creativity to flow—there are no strict rules!
- Test on a Small Area: If you’re trying henna for the first time or using a new design, consider testing on a small area of skin first. This practice allows you to get comfortable with the application process and check for any allergic reactions before proceeding with larger designs.
Drying Time
- Initial Drying Process: After you’ve applied the henna paste, allow it to dry undisturbed for several hours. It’s important not to touch or disturb the henna during this period, as movement can smudge the design and affect its appearance.
- Factors Affecting Drying Time: The drying time can vary based on humidity and temperature. In general, aim for a drying period of at least 1 to 4 hours, but longer is often better. The longer the paste is left on, the more saturated the dye will be, leading to a darker design.
- Avoiding Moisture: During the drying time, keep the henna away from water or sweat to prevent it from being washed off prematurely. Some individuals find it helpful to stay in a cooler room or use a fan to speed up the drying without applying direct heat.

Removing the Henna
- Time to Remove the Paste: Once the henna has set for the appropriate amount of time (ideally around 4 to 6 hours), it’s time to gently remove the dried paste. Do not wash the area with water, as this can dilute the color and affect the outcome.
- Scraping Off the Dried Paste: Use a blunt tool, like a spatula or your fingernail, to carefully scrape off the dried henna paste. Avoid rubbing or scrubbing; rather, aim to lift it away gently to preserve the design underneath.
- Post-Removal Care: After removing the paste, your henna tattoo will appear light at first. However, it will continue to deepen in color over the next 24 hours as it oxidizes. To maximize color retention, avoid washing the area or exposing it to water for at least 12 hours.
- Enjoying Your Henna Design: Once the paste is removed, you can admire your beautiful henna design! For best results and longevity, keep the area moisturized and avoid harsh soaps. The design can last anywhere from one to three weeks, depending on skin type and care.
Henna provides a sophisticated alternative for those looking for temporary body art, lasting longer than simpler tattoos while remaining entirely reversible.
Creative Tips for Making Trendy Temporary Tattoos
Choose Meaningful Designs
When deciding on a design, opt for something that holds significance to you personally. Whether it’s a symbol, a favorite quote, or an abstract design, meaningful tattoos will resonate more deeply and enhance your overall experience of self-expression.
Experiment with Various Colors and Patterns
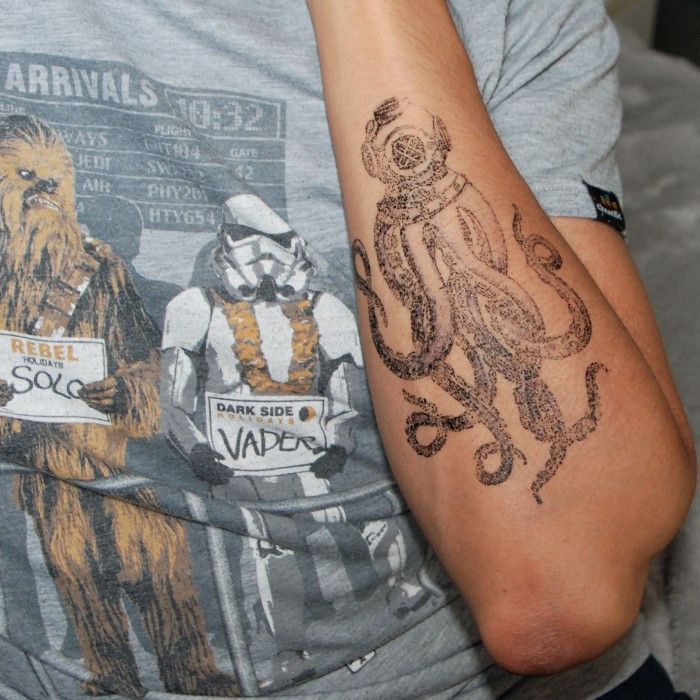
Vibrant colors can make your temporary designs pop. Don’t shy away from using unique combinations of colors or intricate patterns. Consider creating a theme related to the season, such as floral patterns for spring or geometric shapes for a contemporary look.
Keep Up with Current Trends
Staying aware of current tattoo trends can inspire your designs. Research popular styles during different seasons or special events to ensure you incorporate trendy elements into your artwork. Seasonal shifts often bring distinctive motifs that can enhance the appeal of your temporary tattoos.
Frequently Asked Questions About Temporary Tattoos
Can you make temporary tattoos at home?
Yes, you can easily make temporary tattoos at home using various methods like printer tattoos, stencils, or henna. Each method is user-friendly and allows for customization.
Can I make temporary tattoos with a regular printer?
Absolutely! You can use a standard inkjet printer to create temporary tattoos by using specific tattoo paper designed for inkjet use.
How long do homemade temporary tattoos last?
Homemade temporary tattoos last typically between 3 to 7 days, depending on the method utilized and how well they are cared for. Avoid excessive scrubbing and prolonged exposure to water for best results.
Can I get custom temporary tattoos?
Yes, numerous online services offer custom temporary tattoos tailored to your specifications. This is a perfect option if you wish to embody unique designs for events or personal expression.
Conclusion: Express Yourself with Temporary Tattoos
In conclusion, mastering how to make temporary tattoos opens a world of creative possibilities for artistic expression. Each method—from printed tattoos to stencils and henna—offers unique opportunities to explore styles, designs, and colors. Temporary tattoo ideas are evergreen and can cater to many personal expressions, especially during special events or casual gatherings.
By experimenting with various techniques and designs, you can discover what truly resonates with your personality. Temporary tattoos allow you to have fun and express yourself in a way that is both unique and personal, without the commitment of permanent body art. So, gather your materials, explore your creative limits, and dive into the fulfilling world of temporary tattoos! Remember, the best artwork reflects who you are, and temporary tattoos blur the lines of permanence, allowing you the freedom to wear your creativity proudly.