Contents
Introduction: The Versatility of Wet Bags
In the realm of crafting and practical storage solutions, the wet bag pattern stands out as a must-have for various lifestyles. A wet bag is a waterproof pouch specifically designed to store wet or soiled items while keeping the surrounding area unaffected. Whether you’re a parent managing diaper changes, an athlete needing a place for dirty clothes, or someone who wishes to keep wet swimsuits contained, a well-designed wet bag simplifies your life. With 2026 bringing new trends in design and functionality, now is the perfect time to explore the world of wet bags. This article will delve into different ways to use the wet bag pattern, exploring fun designs and styles that cater to various needs.
What is a Wet Bag?
The Basics of Wet Bags
A wet bag is primarily a waterproof pouch or bag made from durable materials, often lined with a waterproof layer. They typically come equipped with zippers or snap closures to secure contents safely. The design prevents leaks, making them ideal for transporting damp items like swimsuits, gym clothes, or toiletries during travel.
Features to Consider
- Material Choices: Wet bags can be made from a variety of waterproof fabrics, including PUL (polyurethane laminate), which is commonly used for its flexibility and durability.
- Zipper vs. Snap Closures: Depending on your preference, you can choose between zipper closures for a more secure seal or snaps for quicker access to your items.
- Size Options: Wet bags come in various sizes, from small pouches for toiletries to larger bags for wet clothes. Selecting the right size ensures that you have enough space for your needs.
Key Benefits of Using Wet Bags
- Leak-Proof Design: Wet bags safeguard against messes, ensuring any wet or soiled items remain stored without risks of leakage onto other belongings.
- Eco-Friendly Alternative: Using wet bags helps reduce reliance on disposable plastic bags, making these reusable storage options more sustainable and environmentally friendly.
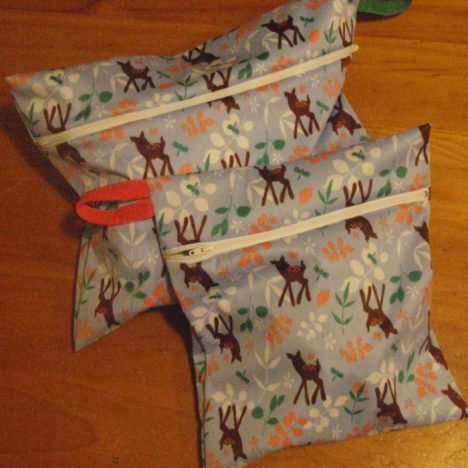
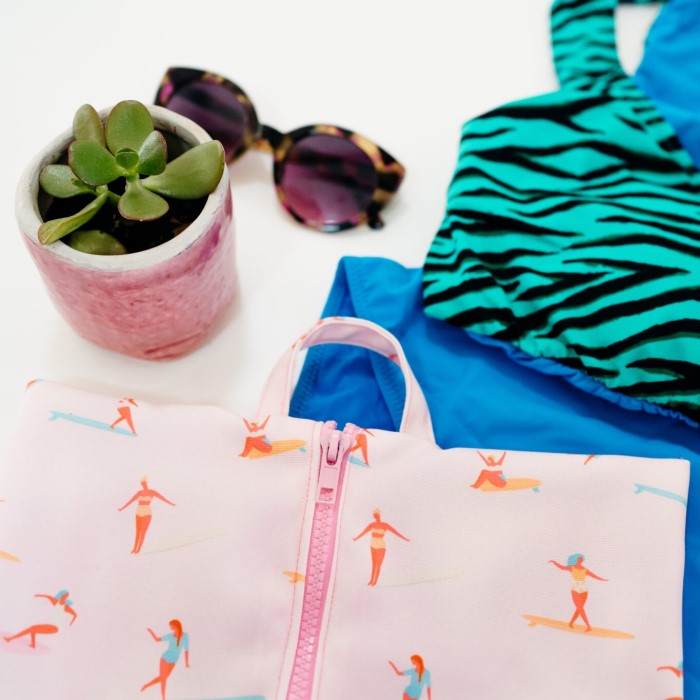
- Stylish Storage: Most wet bags feature various colors and patterns, allowing users to express their style while maintaining functionality.
- Multi-Purpose Use: Beyond storing diapers or swimwear, wet bags can be used for cosmetics, toiletries, or food items, making them incredibly versatile.
- Easy to Clean: Most wet bags can be tossed in the washing machine for easy cleaning, ensuring they remain fresh and hygienic for repeated use.
Exploring Different
Simple Wet Bag Designs
For beginners, starting with a simple wet bag pattern is advisable. These designs often consist of basic shapes and require minimal sewing skills. A straightforward rectangular pattern can be created using waterproof fabric.
- Basic Materials Needed:
- Waterproof fabric (such as PUL)
- A zipper or snap closure
- Standard sewing materials (thread, scissors, pins)
- Fabric Selection:
Choose materials like PUL or laminated cotton. These fabrics are machine washable and can withstand moisture without degrading.
Advanced Wet Bag Patterns
As you gain confidence in sewing, consider more intricate designs that incorporate fun shapes or additional features like handles and pockets. Here are a few ideas:
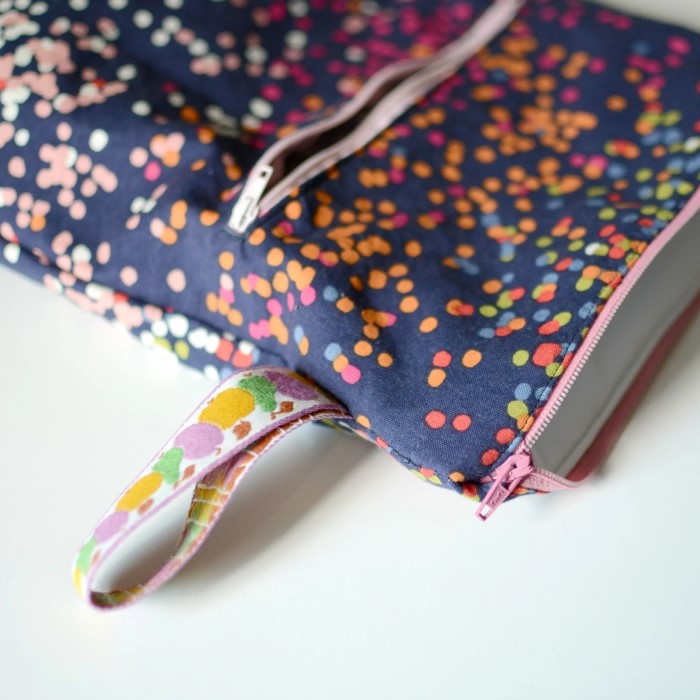
- Zippered Wet Bag with Fringe: Add visual flair using decorative fringe or bindings along the edges. This design incorporates style while allowing for easy opening and closure.
- Wet Bag with Adjustable Strap: Create a bag that can be carried by hand or slung over the shoulder. Adjustable straps provide comfort and versatile carrying options.
- Multi-Pocket Bag: Design a wet bag with several compartments for organization. This allows you to separate different items, making it easier to find what you need quickly.
- Expandable Wet Bag: Consider designing a bag that can expand to hold more items. This is particularly useful for outings where you may collect more wet items, such as after a trip to the beach.
- Printed Fabric Designs: Explore fabric options with bold prints or colorful patterns. These can make your wet bag stand out and reflect your personality.
How to Make Your Own Wet Bag
Creating your personal wet bag is a fun and rewarding project. Here’s how to proceed using the wet bag pattern:
Step 1: Gather Materials
Ensure you have all your supplies ready. This includes:
- Waterproof fabric (such as PUL)
- Zipper or snap closure
- Sewing machine and appropriate thread
- Scissors
- Pins or fabric clips
- Measuring tape
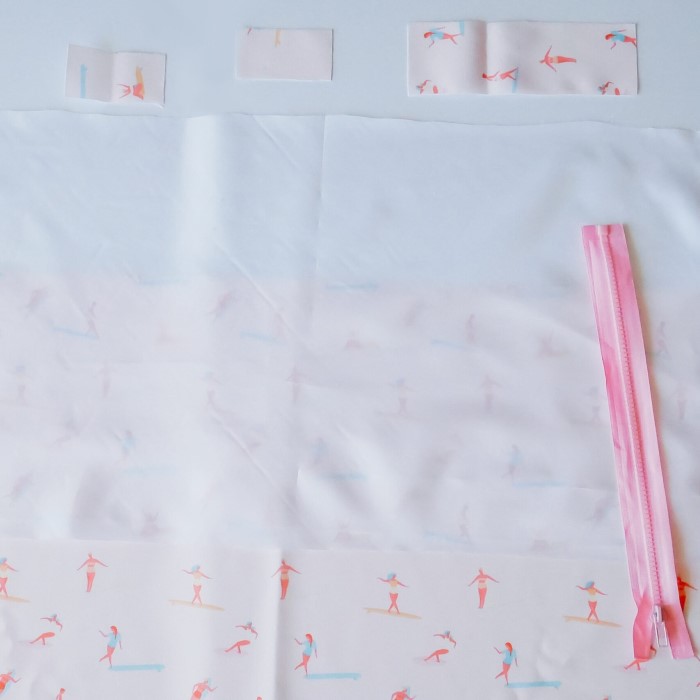
Step 2: Measure and Cut
Using your pattern, measure and cut your fabric. It’s important to allow for seam allowances, usually about a quarter inch.
Step 3: Assemble the Bag
Sew the Crotch Seam
- Start with Preparation: Gather the two main fabric pieces that make up the leggings. This typically includes the front and back sections. Ensure they are cut accurately according to your pattern for a proper fit.
- Align the Fabric: Place the fabric pieces together with the right sides facing each other. This way, the seams will be hidden inside once the leggings are turned right-side-out. Make sure to align the edges carefully to avoid any misalignment during sewing.
- Pin the Edges: Using sewing pins, secure the fabric pieces along the crotch seam. This will help prevent any movement while sewing, ensuring that the pieces stay in place. It’s advisable to use several pins for added stability along the seam.
- Choose the Right Stitch: Select a zigzag stitch or a stretch stitch on your sewing machine. These types of stitches allow for the necessary elasticity in the fabric, ensuring that the leggings can stretch without breaking the seams.
- Sew the Crotch Seam: Start sewing along the pinned edge, keeping a consistent seam allowance, typically around ¼ inch. As you sew, keep an eye on the tension of the fabric to ensure even stitching. Once done, remove the pins carefully as you sew to avoid damaging the needle.
Sew the Side Seams
- Position the Leggings: After completing the crotch seam, turn the leggings right-side-out to have a better view of how the pieces fit together. This will allow you to align the edges accurately for the side seams.
- Pin the Side Edges: Starting from the top of the leggings, pin the side edges together. Make sure the edges are aligned evenly from the top to the bottom hem. This will create a smooth and straight seam once sewn.
- Sew the Side Seams: Use a straight stitch or a zigzag stitch along the side edges, starting from the top and sewing all the way down to the ankle. Ensure that your stitching remains consistent and straight, following your pinned line for accuracy.
- Check the Fit: After sewing, try the leggings on (or use a dress form) to ensure the fit is appropriate. This step is critical to identify any adjustments that may be needed before finalizing the garment.
Add the Waistband
- Cut the Waistband Strip: Depending on your waistband design, cut a strip of fabric that is typically 3 to 4 inches wide and long enough to fit around the top of the leggings with some ease. Generally, the length should be the same as the top circumference of the leggings, plus seam allowances.
- Fold the Fabric: Take the cut strip of fabric and fold it in half lengthwise, aligning the raw edges together. This creates a neat finish, and the width will become the depth of the waistband once sewn.
- Attach the Waistband: Position the folded waistband strip along the top edge of the leggings. Pin it securely in place, ensuring that the raw edges of the waistband are aligned with the top of the leggings.
- Sew the Waistband: Using a straight or stretch stitch, sew the waistband to the top of the leggings, maintaining an even seam allowance. Be careful to stretch the waistband slightly as you sew to ensure that the elastic sits comfortably.
- Insert the Elastic: Once the waistband is stitched in place, cut a piece of elastic that fits snugly around your waist without being overly tight. Slide the elastic into the waistband casing created by your folded fabric, ensuring it is evenly distributed.
- Secure the Elastic: Finish by sewing the ends of the elastic together securely. Then, pull the middle of the elastic to center it, and sew the waistband opening shut to keep the elastic in place. This ensures a comfortable and secure fit.
Step 4: Turn and Finish
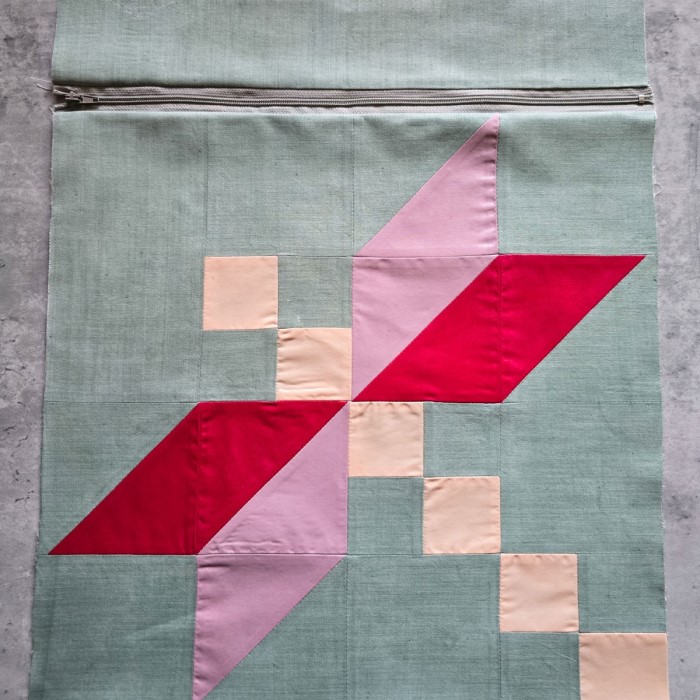
Once assembled, carefully turn the bag inside out through the zipper opening. Ensure the corners are pushed out for a neat finish.
Step 5: Optional Touches
If you want, add a handle or decorative stitching along the edges. Your personalized wet bag is now complete and ready to use!
Creative Ways to Use Wet Bags
For Swimming and Sports
Wet bags are perfect for protecting your belongings during a day at the pool or gym. Use them to store wet swimsuits or clothes after a swim workout, keeping everything organized and dry.
Traveling Companions
When traveling, wet bags serve as ideal storage for toiletries. They keep liquids contained and organize smaller items within your suitcase.
Diaper Bag Essential
For parents on the go, wet bags are invaluable for storing dirty diapers. They keep other items in the diaper bag clean and fresh.
Arts and Crafts Storage
Artists can use wet bags to transport items like paintbrushes, markers, and colored pencils. If working with liquids or paints, a wet bag can prevent spills and losses.
Makeup and Toiletries Organizer
Wet bags are excellent for organizing makeup or toiletries. Use them to separate these items in your luggage, ensuring that any spills won’t harm your clothes.
First Aid Kit
Customize a wet bag as a portable first aid kit. The waterproof nature helps keep medical supplies dry and safe from contamination, making it great for excursions and outings.

Frequently Asked Questions
How do you make a wet bag?
To make a wet bag, choose a waterproof fabric, cut it into the desired shape, sew the sides together while leaving an opening for a zipper, and finish with any necessary embellishments or features.
What can I use as a wet bag?
In a pinch, you can use any waterproof bag or container, such as ziplock bags or old pouches, but crafting a dedicated wet bag specifically designed for your needs will yield the best results.
Do I need a wet bag?
If you frequently deal with wet items or need to store soiled clothes (like swimwear or dirty diapers), investing in a wet bag can be beneficial. It keeps your other items safe from moisture and odors.
Conclusion: Embrace the Wet Bag Pattern
Exploring the wet bag pattern opens up a world of possibilities for functional and stylish storage solutions. From crafting a personalized bag to using it in various settings, wet bags are a versatile and indispensable item for many lifestyles. With the information provided in this guide, you can create your unique wet bag that meets your needs while keeping the environment in mind. So, grab your sewing materials, tap into your creativity, and start crafting a wet bag tailored just for you!