Contents
- 1 Introduction: The Comfort of a Fleece Headband
- 2 Benefits of Making Your Own Fleece Headband
- 3
- 4 Materials You’ll Need for Your Fleece Headband
- 5
- 6 Step-by-Step Guide to Creating a Fleece Headband
- 7 Optional: Adding Personal Touches
- 8
- 9 FAQs About Fleece Headbands
- 10 Conclusion: Create Your Cozy Fleece Headband Today!
Introduction: The Comfort of a Fleece Headband
As the temperatures drop, staying warm becomes a priority. One cozy accessory that combines style and functionality is the fleece headband. With its soft texture and snug fit, a fleece headband not only keeps your ears warm but also adds a fashionable touch to your winter outfits. In this article, we will explore a fleece headband pattern and guide you through the DIY process of creating your own cozy style. Whether you’re looking for a women’s fleece headband pattern or a free fleece headband pattern, this guide will provide you with all the information you need to get started.
Benefits of Making Your Own Fleece Headband
Before diving into the process, let’s discuss why making your own fleece headband pattern can be a rewarding experience:
- Customization: By creating your headband, you can choose the color, pattern, and style that best suit your personal taste. Whether you prefer a simple solid color or a vibrant print, the possibilities are endless.
- Comfort and Fit: DIY headbands ensure a perfect fit for your unique head size. You have control over the measurements, which means no more uncomfortable or ill-fitting store-bought accessories.
- Cost-Effective: Making your fleece headband at home can save you money. Purchasing fleece fabric is often cheaper than buying multiple headbands. One piece of fabric can yield several headbands in different styles.
- Learning a New Skill: Sewing or crafting your own accessories can be a fun and fulfilling hobby. It allows you to develop your skills and creativity, making it a great way to spend your time.
- Gifts for Friends and Family: Handcrafted fleece headbands can make thoughtful gifts for loved ones. You can tailor them to their preferences, which adds a personal touch they’ll appreciate.
Materials You’ll Need for Your Fleece Headband
To create your own fleece headband pattern, you’ll need a few essential materials:
Fleece Fabric
- Choosing the Right Fabric: When selecting fleece fabric, focus on softness and quality. High-quality fleece will not only provide comfort against the skin but will also stand up to wear and tear.
- Texture Matters: Look for fleece that has a gentle, plush texture. Fabrics labeled as “microfleece” or “polar fleece” are popular choices, as they are particularly soft and warm.
- Consider Fabric Weight: Fleece comes in various weights, typically ranging from lightweight to heavy. Thicker fleece offers superior insulation, making it ideal for colder climates. Conversely, lighter options may be more suitable for transitional seasons.
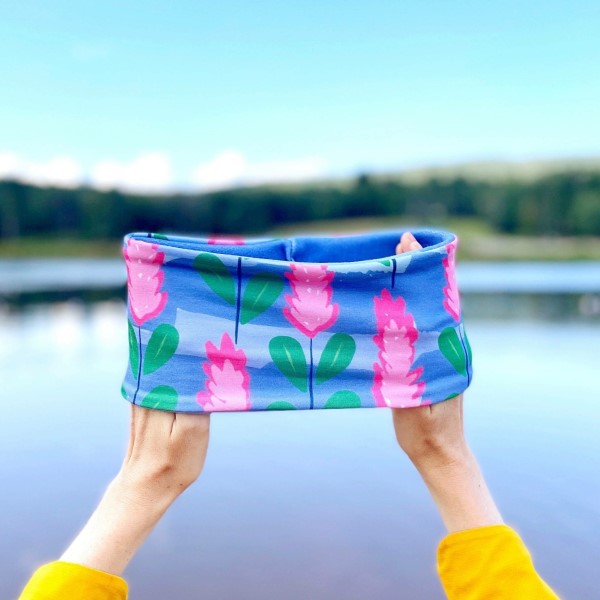
- Color and Pattern Selection: Fleece fabrics are available in a wide array of colors and patterns. Consider selecting a color or print that reflects your personal style or matches your dog’s personality.
- Durability and Washability: Ensure the fleece is machine washable and durable, as pet accessories often require frequent cleaning. A fabric that retains its quality after multiple washes will yield better longevity.
Measuring Tape
- Importance of Accurate Measurements: Taking accurate measurements is crucial to ensure that the headband fits comfortably and securely. A well-fitted headband will stay in place and provide the necessary warmth without causing discomfort.
- Using Flexible Measuring Tape: A flexible measuring tape is ideal for measuring your head, as it can easily conform to the curves and contours. This ensures an accurate measurement without any slack or unnecessary tightness.
- Head Circumference Measurement: Wrap the measuring tape around your head, positioning it just above your ears and across your forehead. Make sure it sits comfortably without digging into the skin. Record the measurement to use when cutting your fabric.
- Second Measurement for Adjustments: It’s often a good idea to take a second measurement for accuracy. Measure twice, especially if you’re creating the headband for someone else, to minimize any fitting errors.
- Consider Allowances for Comfort: Depending on the design of your headband, you may want to add an inch or so to your measurement to allow for seam allowance and comfort. This additional space helps ensure a snug fit that isn’t too tight.
Scissors
- Quality of Scissors: Using sharp fabric scissors is essential for accurately cutting fleece fabric. Dull scissors can create jagged edges, which not only affect the appearance of your project but can also lead to fabric fraying.
- Recommended Scissor Type: Opt for specialized fabric scissors rather than general-purpose scissors. Fabric scissors are designed to cut through textiles smoothly, providing clean lines and precise edges.
- Cutting Techniques: When cutting fabric, ensure you are using smooth, straight motions to avoid snags or tears. Cut with the blades almost parallel to the fabric for the cleanest cuts.
- Safety Tips: Always cut away from your body and keep your fingers clear of the blade. If you’re inexperienced with scissors, practice on scrap fabric to build your confidence before working on your headband.
- Keeping Scissors Maintained: Regularly sharpen your scissors or have them professionally serviced to maintain their cutting ability. Proper maintenance will make your crafting experience much smoother.
Sewing Machine or Needle and Thread
- Using a Sewing Machine: If you’re comfortable with using a sewing machine, it can significantly speed up the process of making your headband. A machine allows for consistent stitches and works well for sewing multiple layers of fabric.
- Choosing the Right Needle: Ensure you use the correct needle type and size for sewing fleece. A universal needle or a ballpoint needle is often recommended, as they can glide through the fabric without snagging.
- Hand-Sewing Alternative: If you prefer a more hands-on approach or do not have access to a sewing machine, hand-sewing is a viable option. A needle and thread can work perfectly for creating a headband, especially for smaller or quick projects.
- Sewing Techniques: Familiarize yourself with basic stitches, such as straight stitch and zigzag stitch, to give your headband the desired look and functionality. Zigzag stitches can help prevent fraying on fleece edges.
- Thread Selection: Choose a thread that matches your fabric color for a seamless look. Ensure you’re using durable polyester or cotton thread suitable for stretchy materials like fleece.
Pins or Clips
- Holding Fabric Securely: Pins or fabric clips are essential tools for maintaining the position of your fabric pieces while you sew. This prevents shifting and helps you achieve clean, straight seams.
- Types of Pins: Use straight pins for general sewing. For thicker layers of fleece, consider using longer or larger clips designed for heavy fabrics to provide better hold without damaging the material.
- Pinning Techniques: When pinning, place the pins perpendicular to the cut edge of the fabric. This allows for easier removal as you sew without disrupting the alignment of the fabric.
- Avoiding Fabric Damage: Be cautious when pinning to avoid damaging the fleece material. If you’re using clips, make sure they are strong enough to hold the fabric but gentle enough to prevent indents.
- Organizing Your Pins: Keep your pins or clips organized in a small container. This will help you easily access them during the sewing process and keep your workspace tidy.
Step-by-Step Guide to Creating a Fleece Headband
Now that you have your materials prepared, it’s time to get started on the DIY process. Follow these simple steps to create your fleece headband:
Measure and Cut the Fabric
- Measure Your Head: Use the measuring tape to measure the circumference of your head. Add an extra inch to ensure a comfortable fit. Mark this measurement.
- Cut the Fabric: Using scissors, cut a rectangular piece of fleece fabric that is about 4 to 5 inches wide and the length of your head measurement plus one inch. This will be the fabric for your headband.
Prepare the Fabric
- Fold the Fabric: Fold the fabric in half lengthwise, with the two shorter edges meeting. Make sure the “good” sides are facing each other.
- Pin the Edges: Use pins or clips to hold the edges together as you prepare to sew. This step ensures that the fabric stays aligned during the sewing process.
Sew the Headband
- Sew the Edges: Using a sewing machine or a needle and thread, sew along the open edge, leaving one end open. Use a straight stitch and a seam allowance of about half an inch.
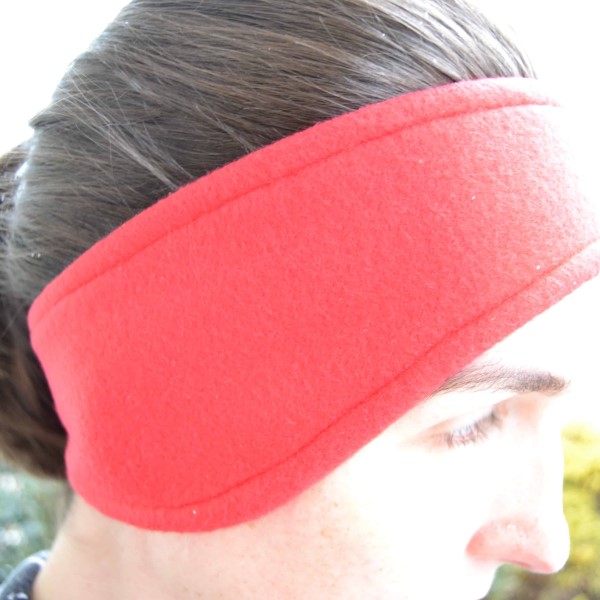
- Turn it Inside Out: Once you finish sewing, turn the headband inside out so that the seams are hidden. This gives the headband a neat appearance.
Finish the Headband
- Tuck in the Open End: Fold the open end of the headband inward, about half an inch, and sew it shut. You can also use fabric glue if sewing is not your preference.
- Final Fitting: Try on the headband to ensure it fits comfortably. If needed, make any adjustments by taking in the seams or trimming excess fabric.
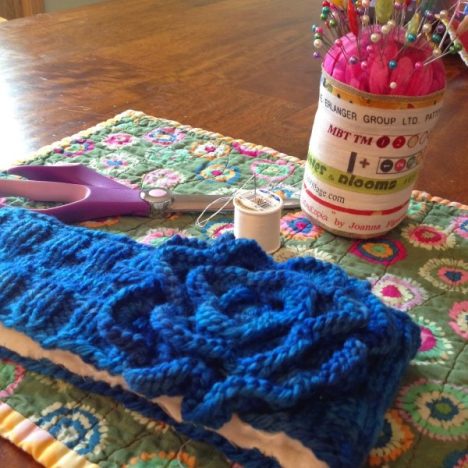
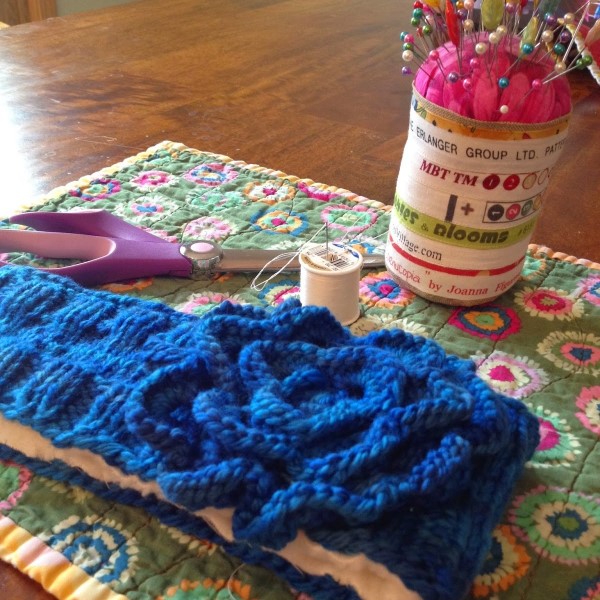
Optional: Adding Personal Touches
To make your fleece headband even more unique, consider adding personal touches:
- Decorative Embellishments: Use fabric paint, embroidery, or patches to decorate the headband. Personalizing it can make it a fun statement piece.
- Layering Fleece: For extra warmth, you can create a double-layer headband by cutting two pieces of fleece and sewing them together. This design provides more insulation against the cold.
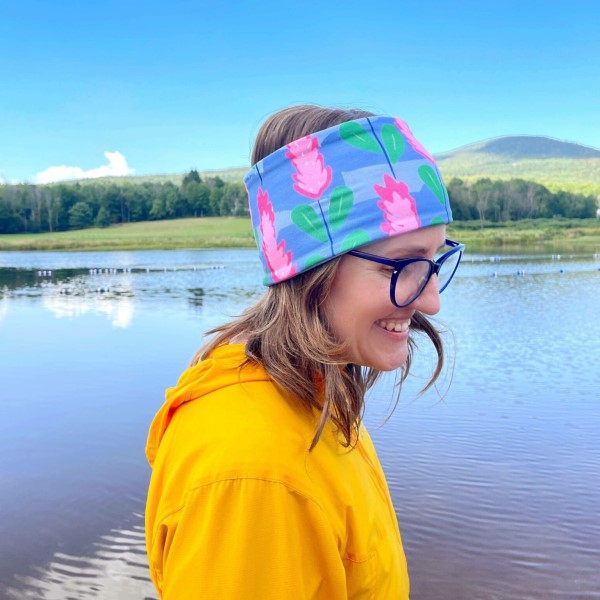
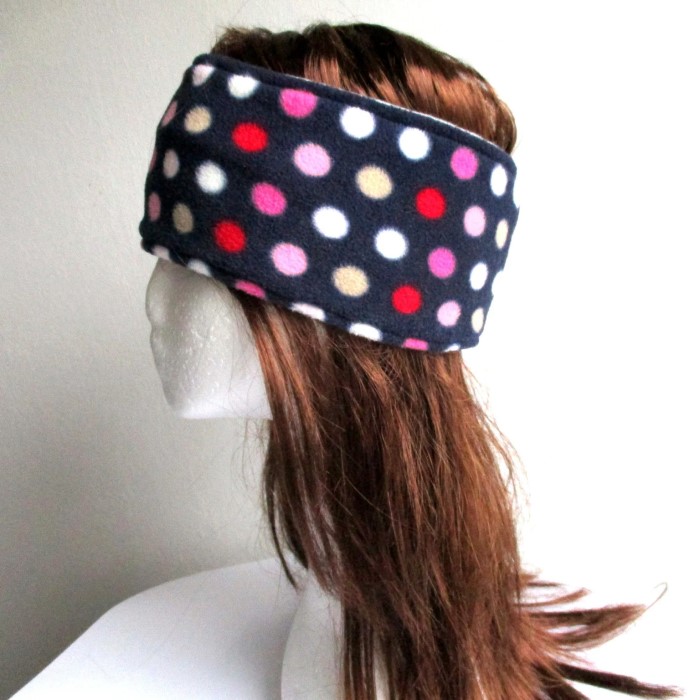
- Different Patterns: Experiment with various patterned fleece fabrics, such as polka dots, animal prints, or floral designs, to give your headband character and charm.
- Themed Headbands: Create seasonal or holiday-themed headbands by choosing fabrics that celebrate holidays or events. For instance, a winter-themed headband with snowflakes or a summer headband with bright colors.
FAQs About Fleece Headbands
What is the best material to cover a dog bed with?
The best materials for a dog bed cover include soft and durable fabrics like cotton, fleece, or denim, each providing comfort and longevity.
How to make a waterproof cover for a dog bed?
To make a waterproof cover, use waterproof or water-resistant fabric, create a liner, and secure it properly through sewing or gluing techniques.
What material can dogs not bite through?
Heavy-duty materials such as ballistic nylon and reinforced canvas are highly resistant to biting. They can provide durability for dog beds as well.
How to make a dog bed out of fabric?
To make a dog bed, measure your desired dimensions, cut the fabric, sew or glue the edges together, and add padding before securing it all.
Conclusion: Create Your Cozy Fleece Headband Today!
In summary, making a fleece headband pattern is a fun and rewarding project that allows you to create a stylish accessory for yourself or a loved one. With the right materials and following the detailed steps in this guide, you can easily craft a cozy headband that reflects your personal style. Use your creativity to explore various designs and techniques, making it a fulfilling experience. So gather your supplies and get started on your DIY fleece headband today. Your fashionable creation awaits, ready to keep you warm and stylish throughout the colder months!