In this whimsical exploration of DIY Little Red Riding Hood, we will journey into crafting one of the most iconic fairy tale characters known to many. With its rich narrative and memorable visuals, Little Red Riding Hood captures the spirit of childhood innocence, bravery, and adventure. Creating your own version of this beloved character not only presents an enjoyable craft activity but also allows you to put a personalized spin on a classic costume. Whether you are preparing for Halloween, a themed party, or a school play, this guide will lead you through every step—materials, techniques, and creative tips—that you will need along the way. From selecting fabrics to adding unique details, we’ll help you bring your vision to life while encouraging creativity and fun. So grab your scissors, thread, and enthusiasm, and let’s delve into the art of crafting a DIY Little Red Riding Hood!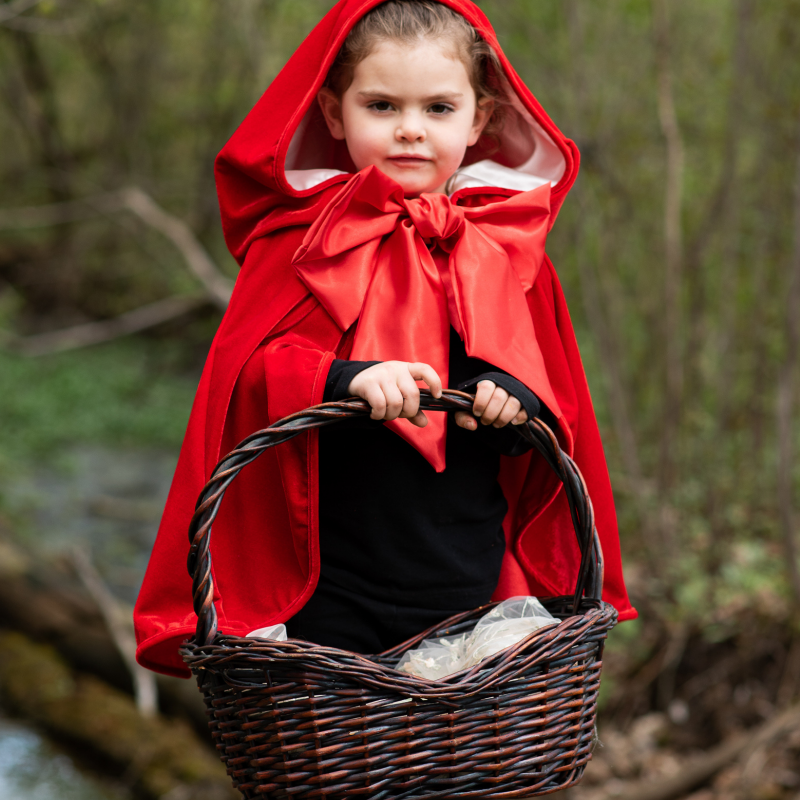
Contents
- 1 Understanding the Character: The Essence of Little Red Riding Hood
- 2 Gathering Your Materials for DIY Little Red Riding Hood
- 3 Crafting the Iconic Red Cloak
- 4 Creating the Underlying Outfit
- 5 Accessories to Enhance Your Look
- 6 Tips for a Flawless DIY Experience
- 7 Showcasing Your DIY Little Red Riding Hood
- 8 Conclusion: The Magic of DIY Little Red Riding Hood
Understanding the Character: The Essence of Little Red Riding Hood
Before we embark on the crafting journey, let’s reflect on the character. Little Red Riding Hood is a story of a young girl who navigates her way through a forest, laden with the symbolism of danger and courage. The red cloak that the girl wears represents various themes such as protection, innocence, and transformation. Understanding these elements can inspire your DIY project. As you create your costume, consider what the character embodies and how you can reflect this in the details of your attire. This could involve choosing fabrics that resonate with the story or incorporating personal touches that symbolize your interpretation.
Gathering Your Materials for DIY Little Red Riding Hood
To kick off your DIY Little Red Riding Hood project, you’ll need to gather a selection of materials. Here’s a handy checklist to guide you:
- Fabric: Choose a vibrant red material for the cloak. Velvet or cotton can work well for the budget, while silk adds a touch of elegance.
- Pattern: You may need a pattern for the cape. You can handcraft one or purchase a simple cloak pattern online or at your local fabric store.
- Embellishments: Consider adding lace, embroidery, or fabric paint to give a unique flair to your cloak.
- Accessories: Don’t forget a charming basket, which is essential to complete the look!
- Sewing Supplies: Scissors, thread, pins, and a sewing machine (or needle for hand sewing) are vital.
Once you’ve gathered your materials, you’re ready for the exciting part: creating your costume!
Crafting the Iconic Red Cloak
The centerpiece of the DIY Little Red Riding Hood costume is undoubtedly her iconic cloak. To craft it, follow these straightforward steps:
- Design the Cloak: Take your fabric and layout your design. You can make a full cloak or a cape-style version. Measure the length from your shoulders to your knees or desired length.
- Cut the Fabric: Cut your fabric according to the design you’ve chosen. Take your time to ensure even cuts.
- Sew the Edges: To avoid fraying, fold the edges over and sew them down. If you prefer a raw edge look, you can skip this step but be aware that it might fray over time.
- Add a Hood: For an authentic look, consider adding a hood. Cut an additional piece of fabric in a semi-circle and attach it to the neckline of the cloak.
- Embellish: Add any embellishments you desire. Whether you opt for simple bias tape along the edges or intricate lace, this is your chance to let your creativity shine.
This process not only yields a stunning cloak but also allows you to connect with your project, as each stitch tells a part of your story.
Creating the Underlying Outfit
While the cloak is considerable, the outfit underneath is equally important. A simple dress or skirt can complement your DIY Little Red Riding Hood look. Here’s how to put together your base attire:
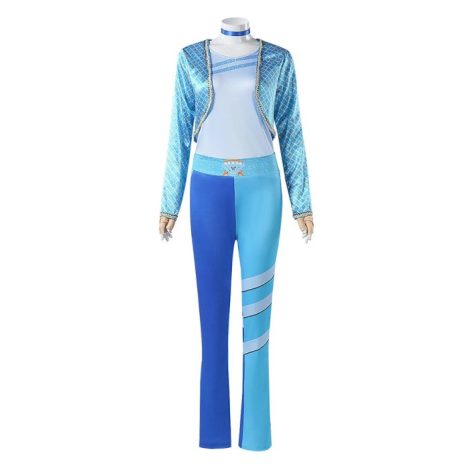
- Dress: A solid color blue or white dress works perfectly as the dress. You can create one using a simple dress pattern or repurpose an existing dress.
- Skirt and Top Combo: If you prefer, combine a white blouse with a knee-length skirt. Consider floral patterns or other colors that match the fairytale theme.
- Footwear: For footwear, opt for comfortable yet stylish options. Mary Jane shoes or simple flats in black or white can complete your look beautifully.
Don’t forget that comfort is vital, especially if you’ll be wearing this for an extended period!
Accessories to Enhance Your Look
Accessories are the cherry on top of your DIY costume! They can make or break your Little Red Riding Hood depiction. Here are some ideas to amplify your ensemble:
- Basket: A small woven basket is an iconic element. Fill it with faux goodies like flowers, fruits, or even a stuffed toy wolf for humor.
- Headband or Flower Crown: A simple red headband or a charming flower crown can enhance the fairy-tale quality of your look.
- Red Shoes or Socks: Consider red shoes or even red knee-high socks for a playful addition to your costume.
- Props: If you’re getting extra creative, think of props that represent moments from the story, like a faux wolf or a representation of Grandma.
These accessories reflect your interpretation of Little Red Riding Hood, adding personalization and depth to your creation.
Tips for a Flawless DIY Experience
As you embark on your crafting journey, certain tips can help streamline the process. Here are some strategies to ensure that your DIY Little Red Riding Hood experience is enjoyable and successful:
- Plan Ahead: Take time to sketch your ideas and list the steps you’ll take. This planning will help avoid frustration later on.
- Work in a Well-Lit Area: Good lighting can make a significant difference. It helps you see fabric details and avoid mishaps.
- Take Breaks: Crafting can be intense. Stepping away for a short break can help clear your mind and revitalizes your energy.
- Ask for Help: Don’t hesitate to seek assistance from friends or family. Working together can spark creativity and make it more fun.
- Practice Patience: Remember that DIY projects take time. Rushing can lead to mistakes, so enjoy the journey!
Following these tips can elevate your crafting experience, ensuring that you create a fabulous costume you’ll be proud to wear.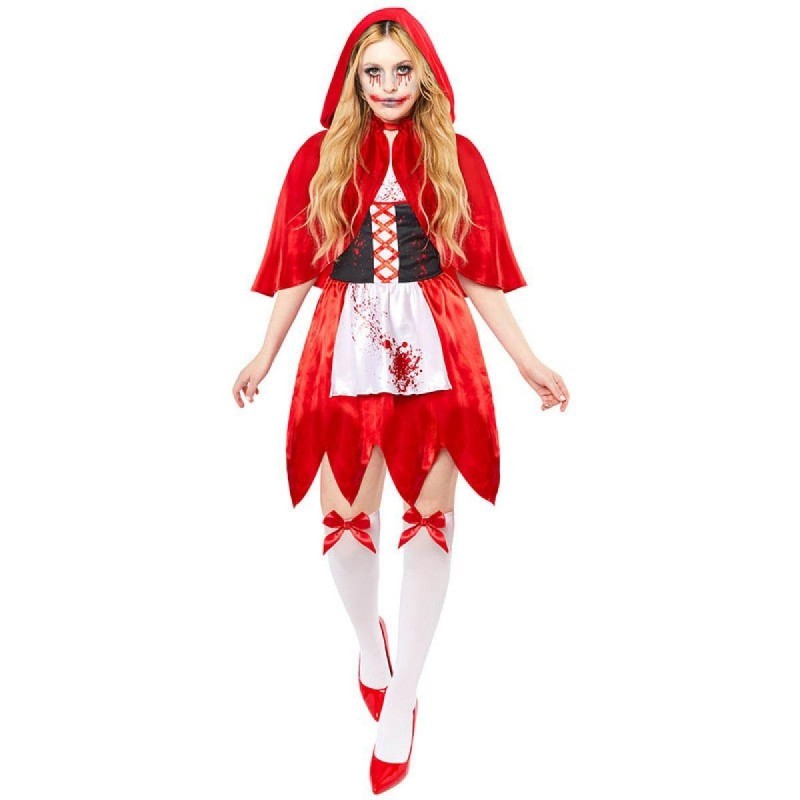
Showcasing Your DIY Little Red Riding Hood
After putting in all that effort, it’s time to showcase your work! Consider the following options for sharing your participation:
- Costume Parties: Attend costume parties and show off your creation. Participate in contests for added fun!
- Social Media: Capture pictures of your DIY Little Red Riding Hood and post them on social media. Use relevant hashtags to connect with other crafters.
- Community Events: Look for local events or fairs celebrating creativity and costumes where you can display your work.
- School or Theatre Productions: If you’re involved in a school play or community theatre, consider using your costume for performances or rehearsals.
Celebrating your craftsmanship is not only gratifying but also inspires others to unleash their creativity.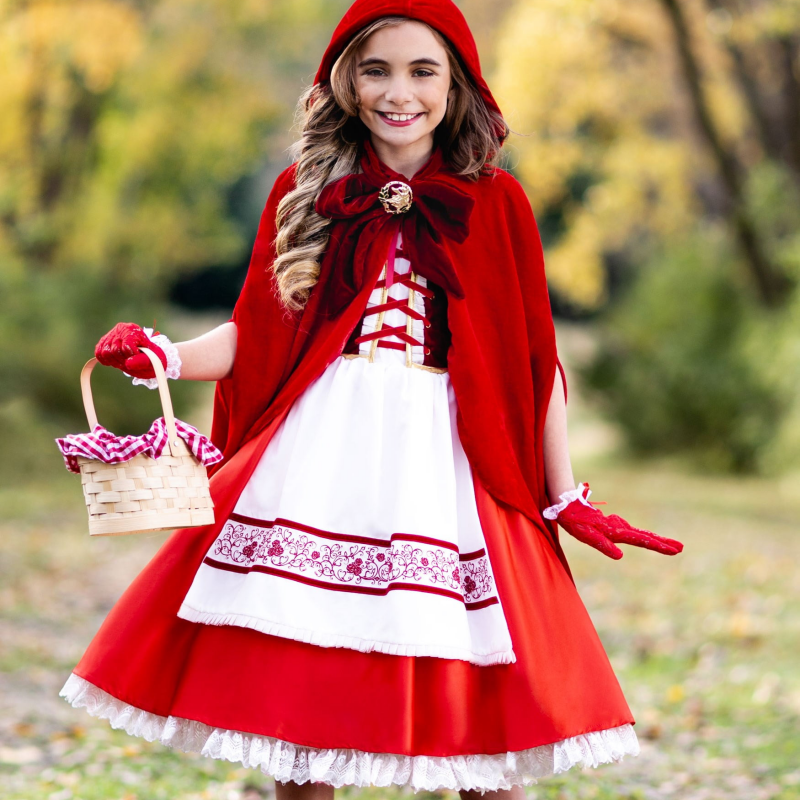
Conclusion: The Magic of DIY Little Red Riding Hood
In summary, creating a DIY Little Red Riding Hood costume is far more than just a crafting task; it is a celebration of creativity, storytelling, and self-expression. Each stitch in the cloak, each detail in the outfit adds a layer of meaning that connects you to the enduring tale of courage and adventure. So, whether you wear it to a festive celebration, a theatre production, or simply as a homage to a beloved fairy tale, your costume will surely stand out and delight those around you. Moreover, by engaging in the process of design and construction, you cultivate valuable skills and unleash the artist within. So the next time you’re seeking inspiration for a project or costume, remember the enchanting journey of Little Red Riding Hood—and let it guide your creativity toward a vibrant expression of yourself.